After seeing a few posts from this particular spot, I could not wait for the opportunity to take out a truly nice car and get some good shots. When Chris hit me up one weekend to take photos of this car at this particular spot, I was thrilled. I had been planning on shooting Chris' new Challenger for a while now, and this was my opportunity!

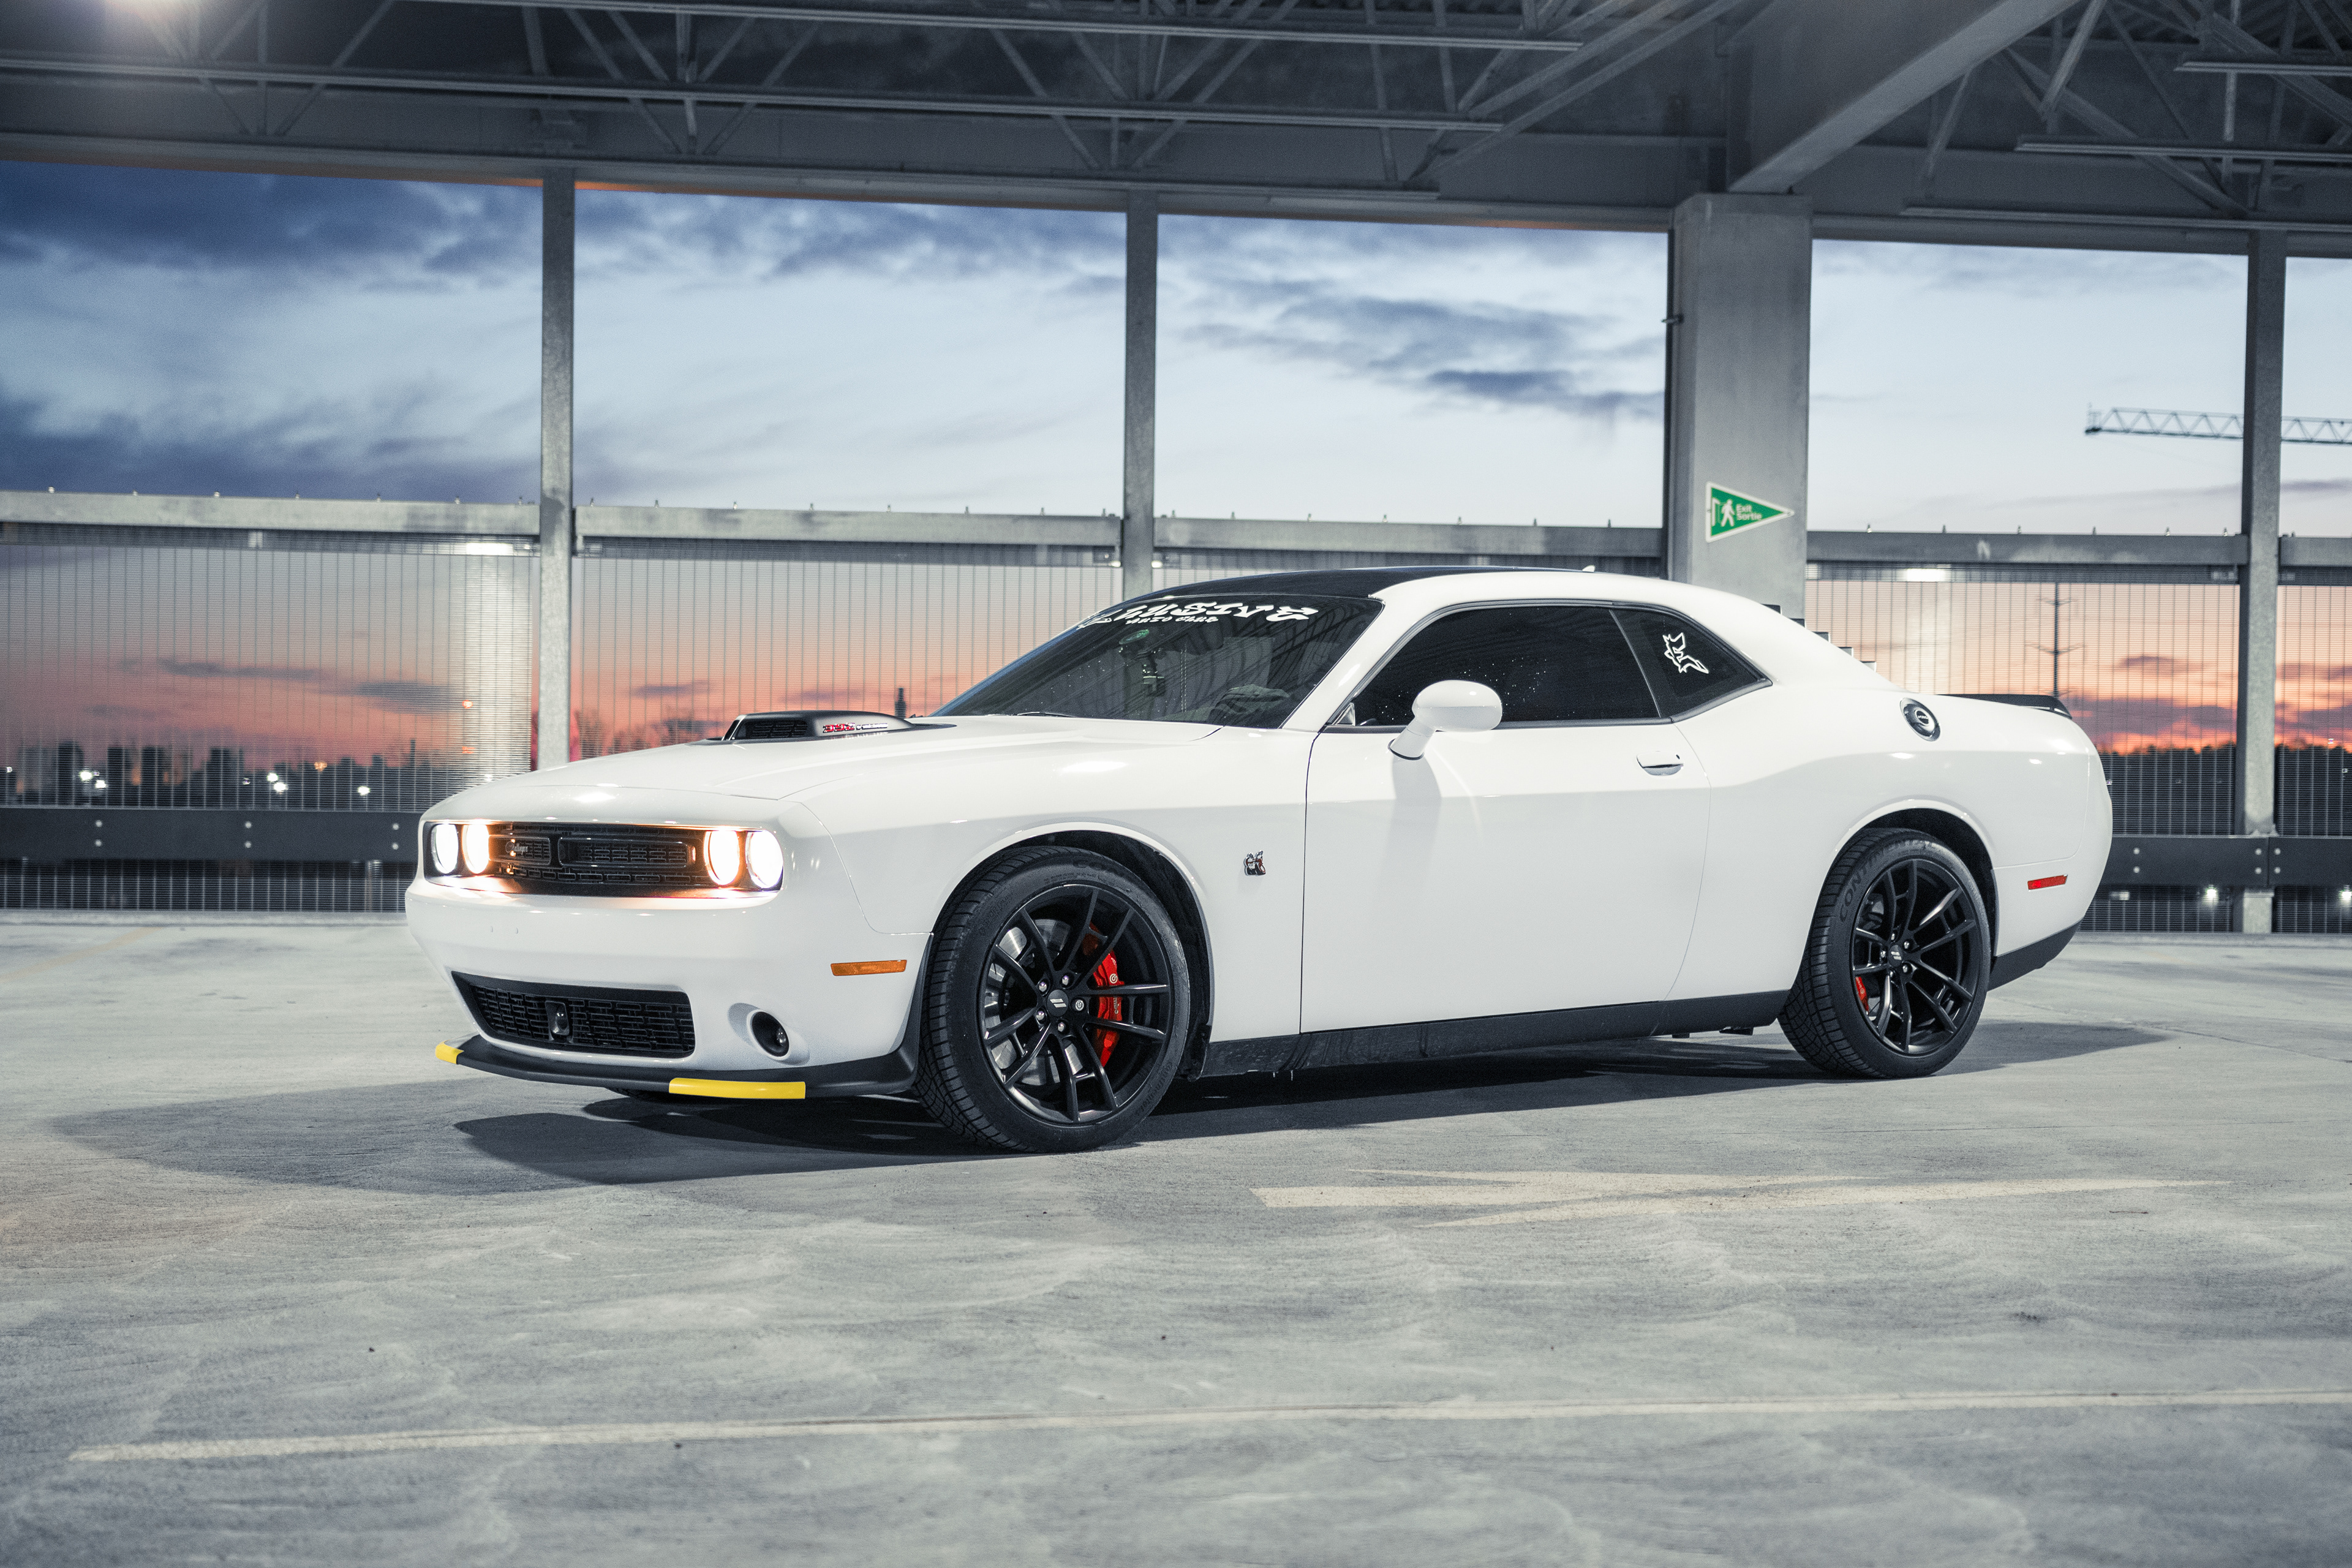
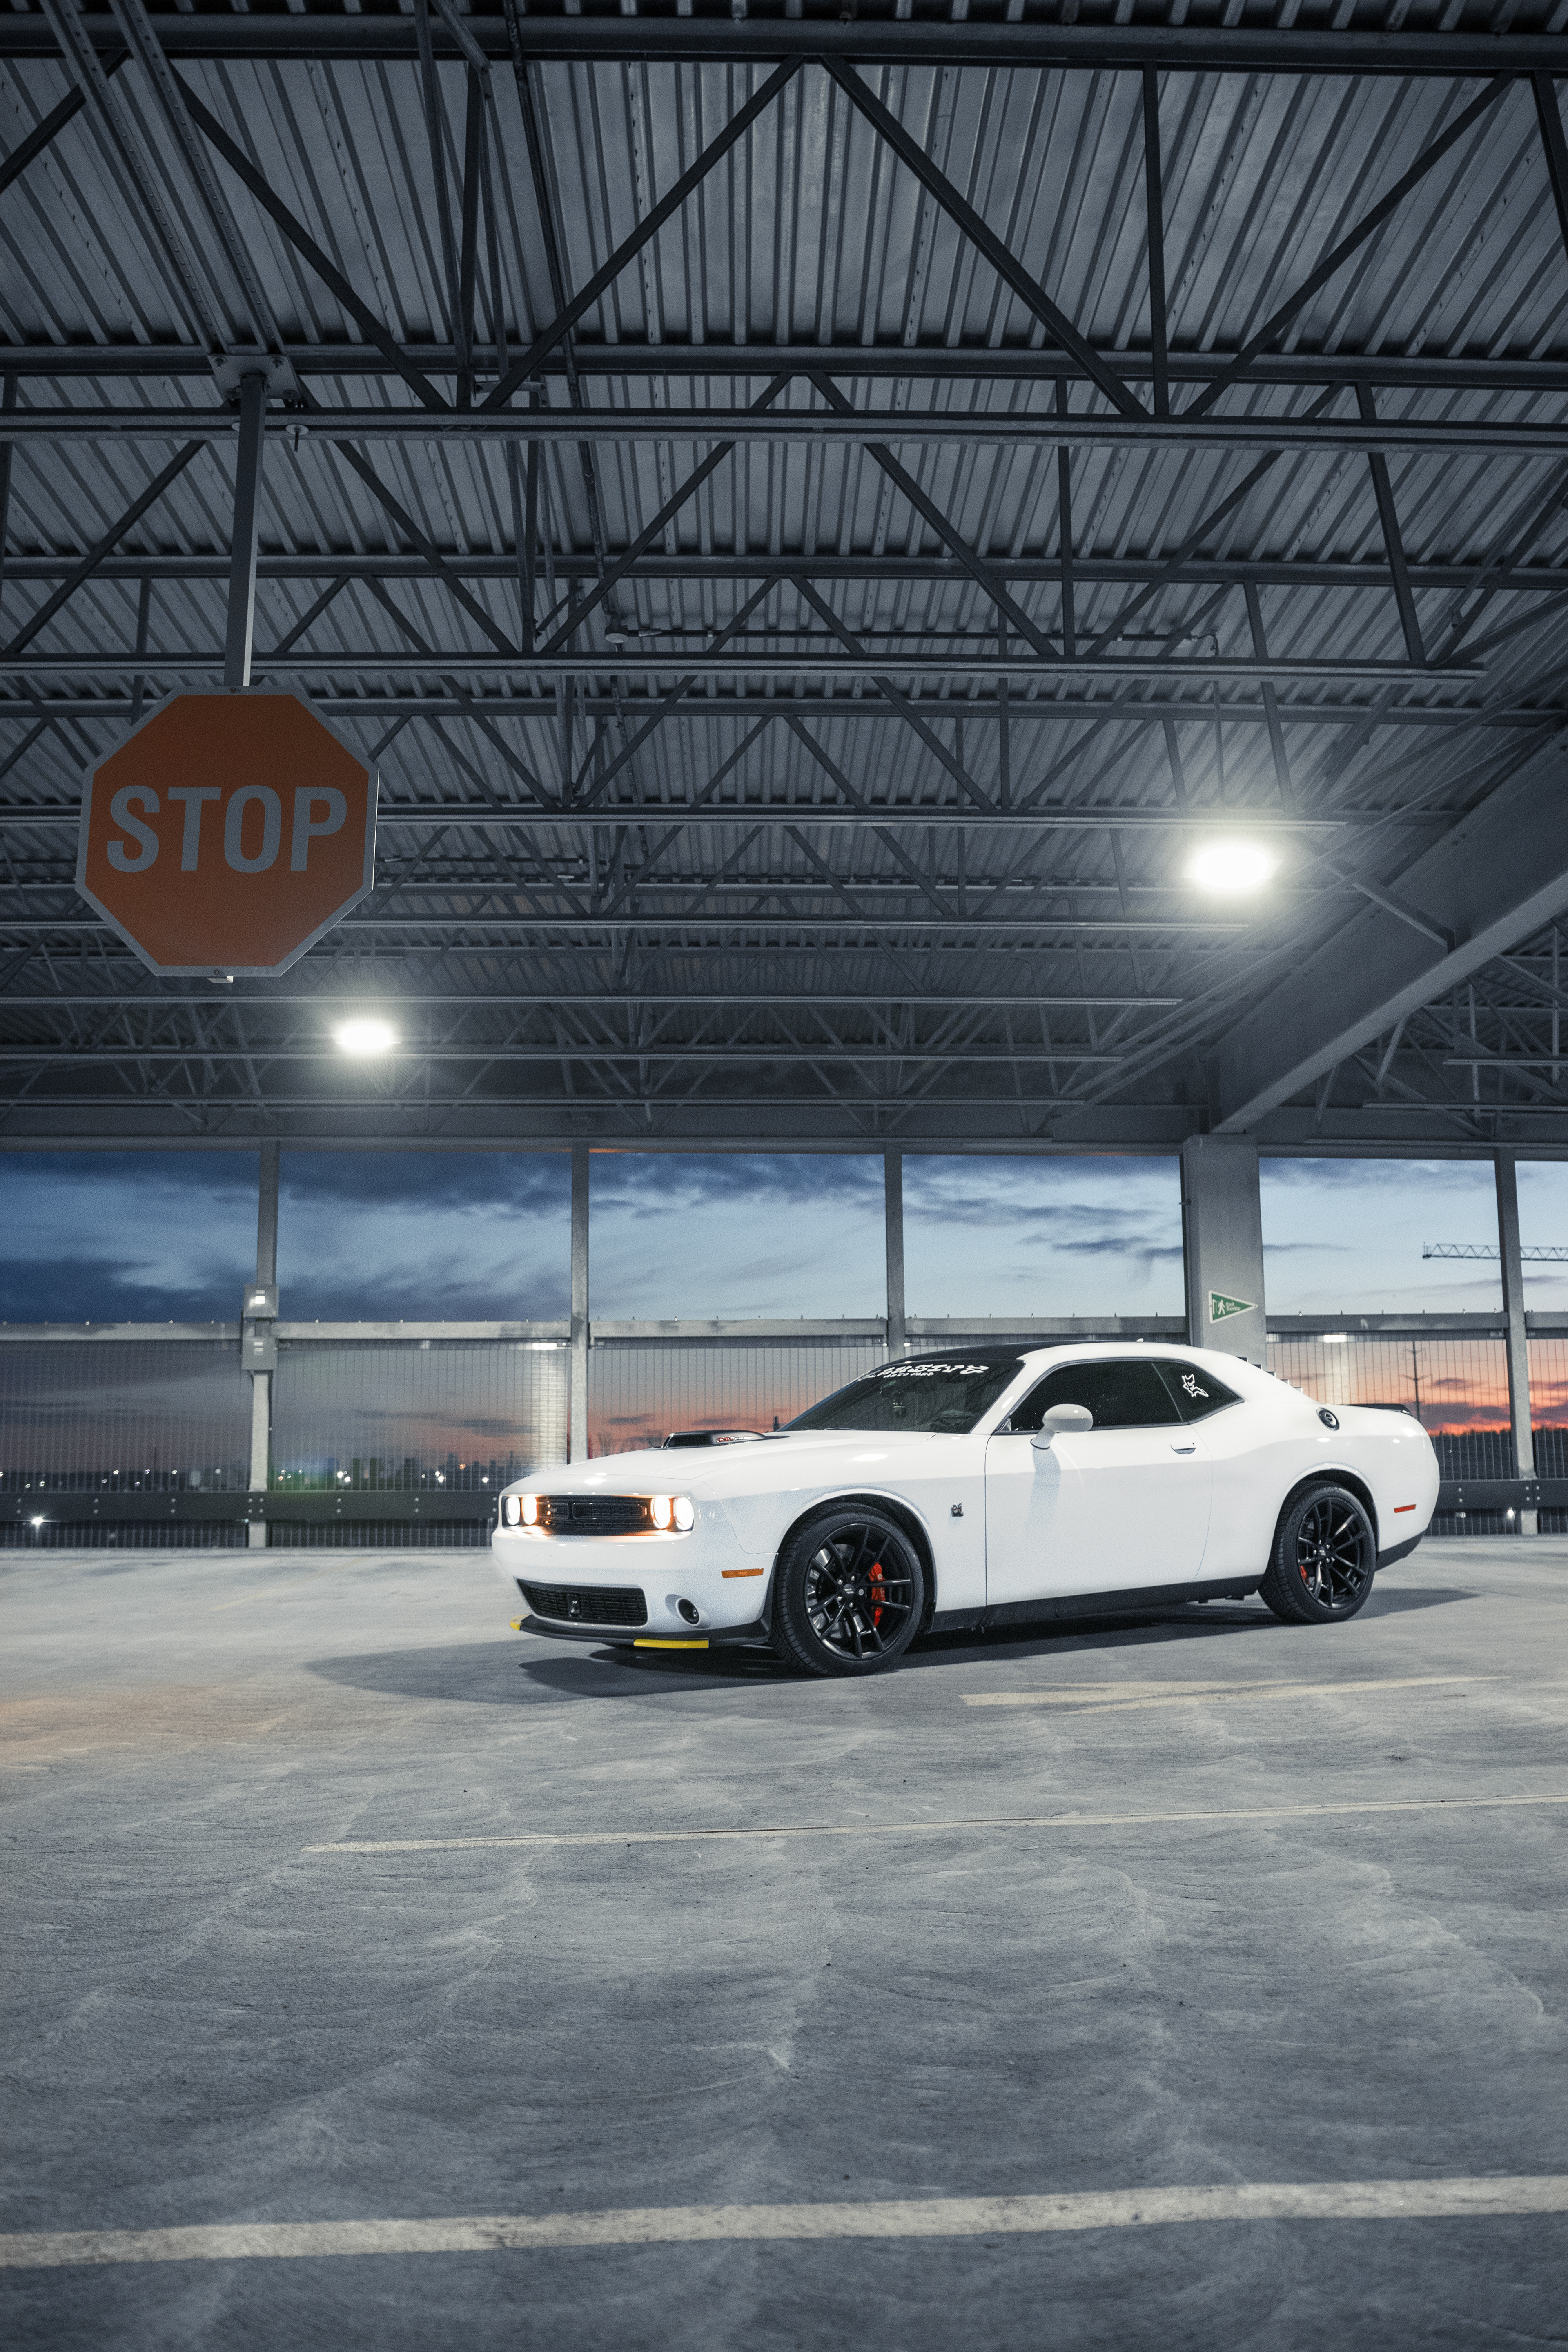
The timing was perfect. At about 5:20 PM we arrived and quickly set up on the top floor of this parking garage and got to work. Chris unravelled a long plastic sheet of paper which had the Elusive Auto Club signature and quickly (yet quite precisely) applied the branding across his windshield.
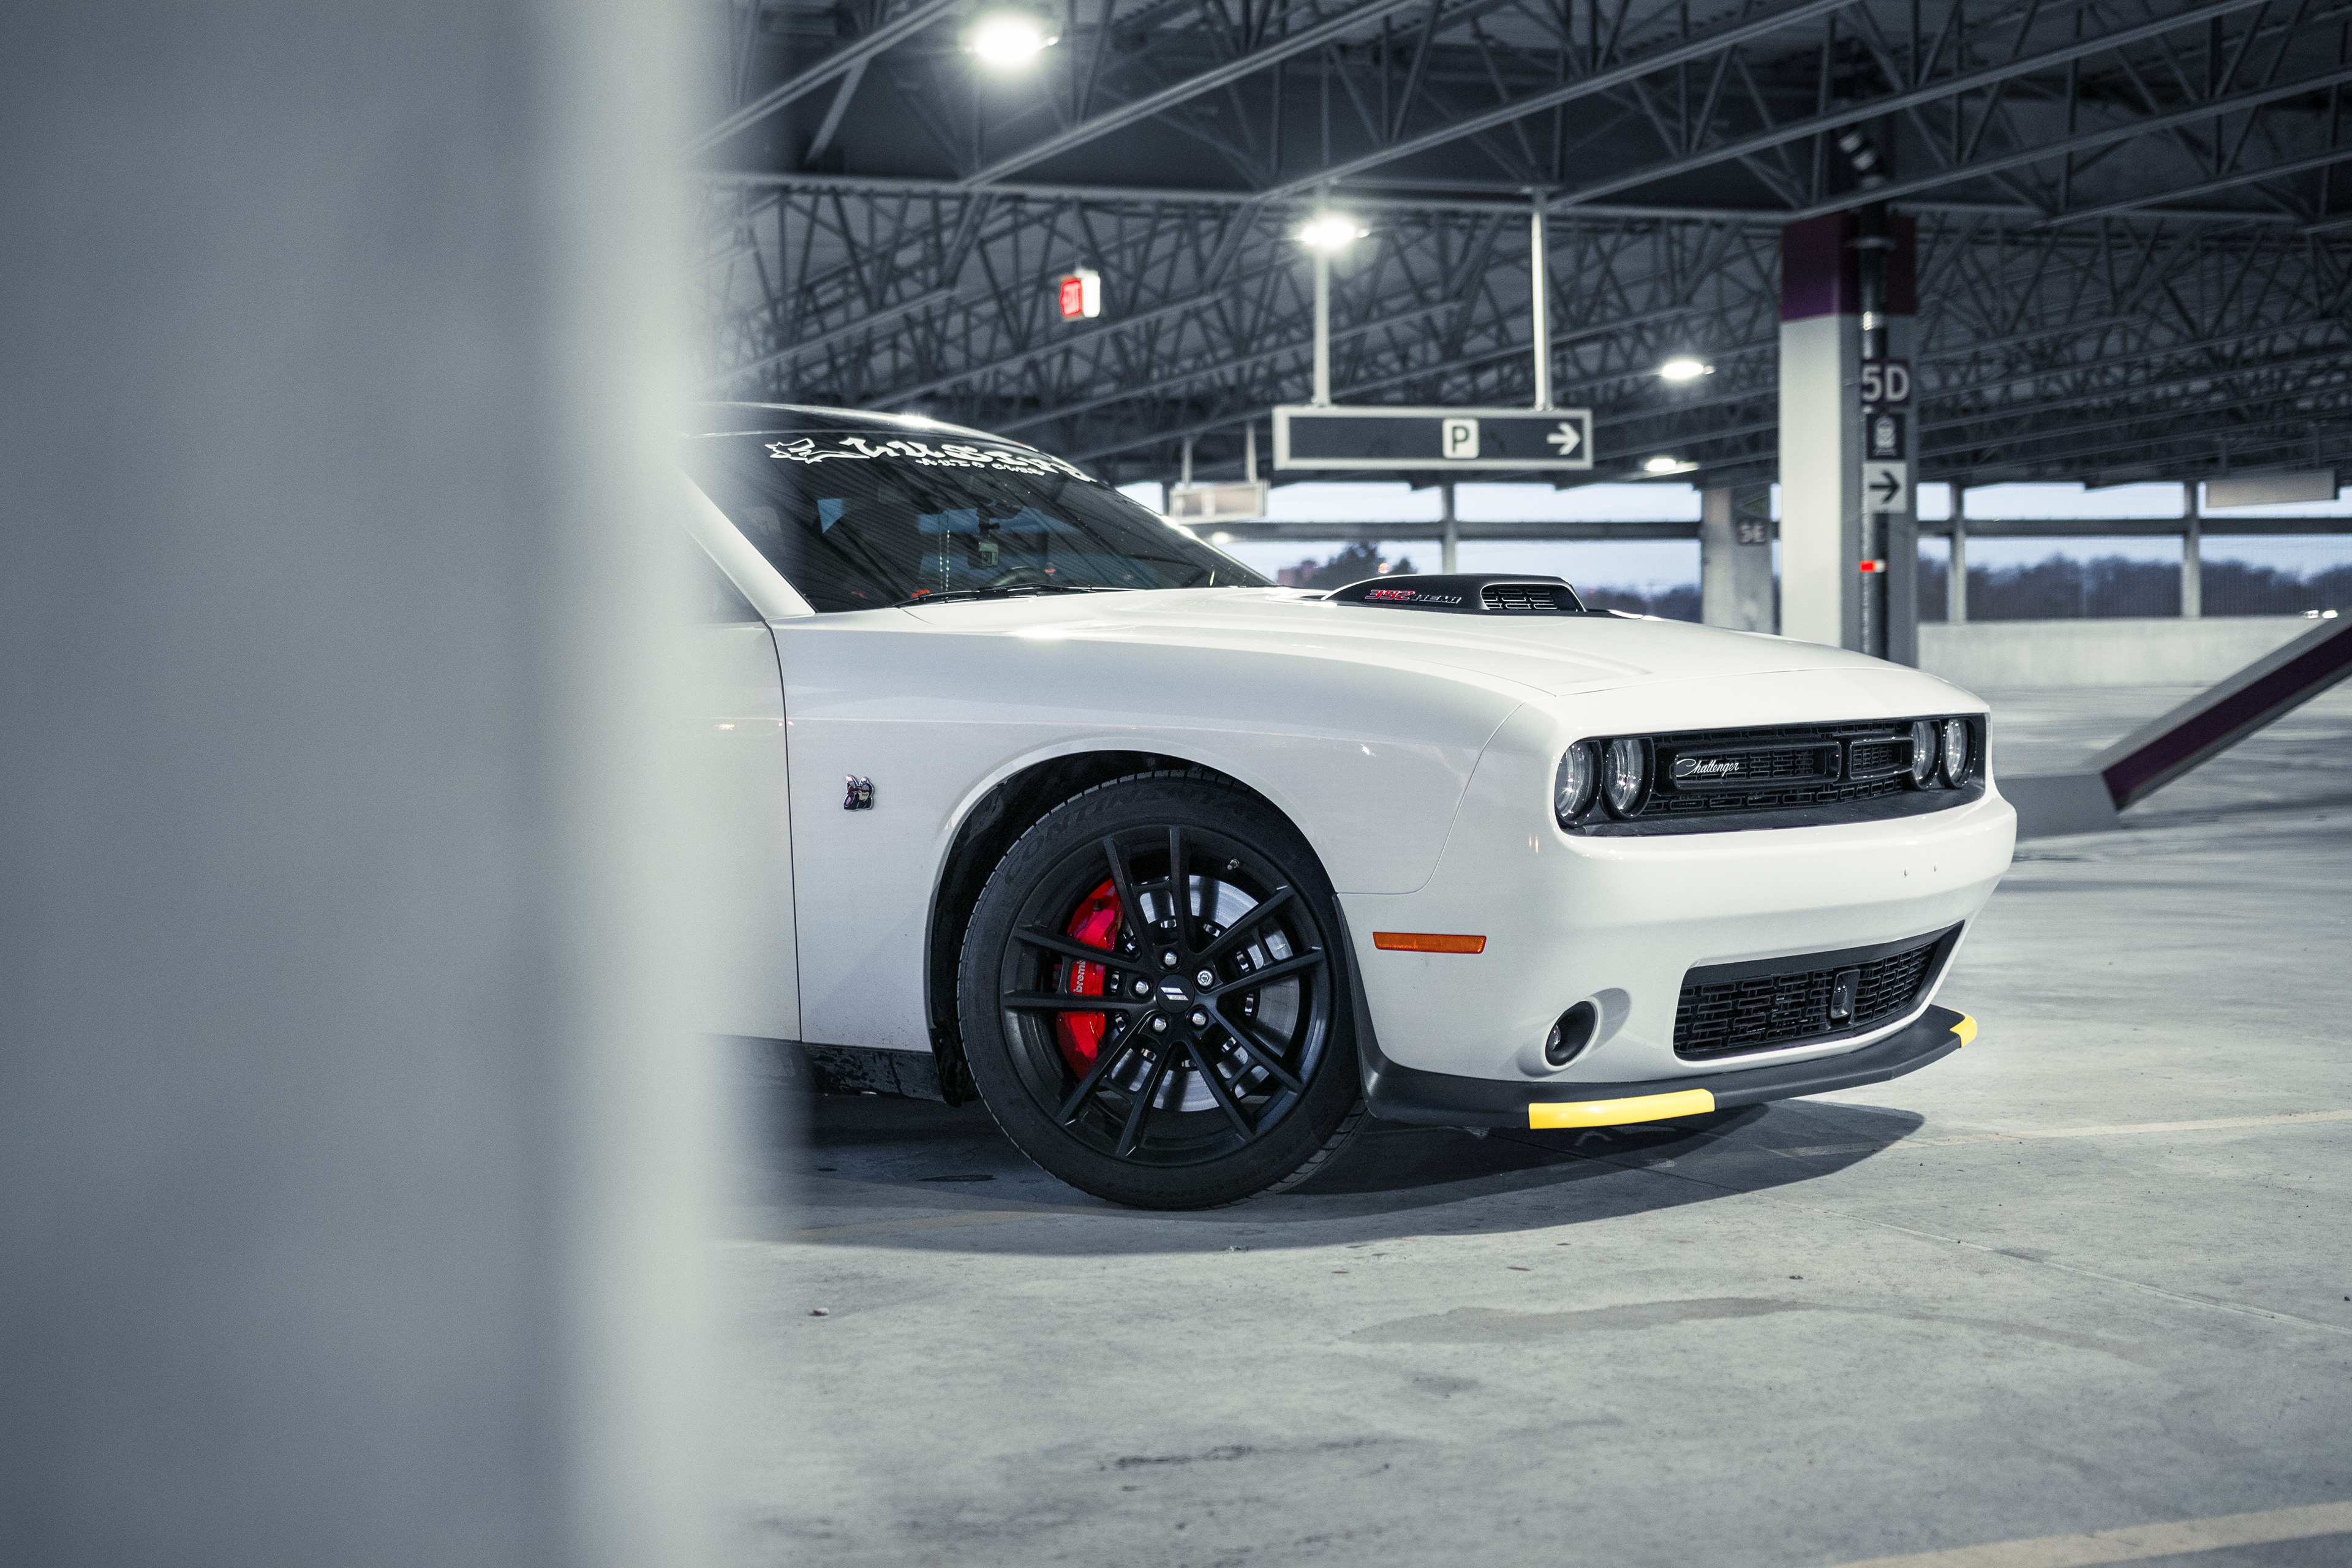
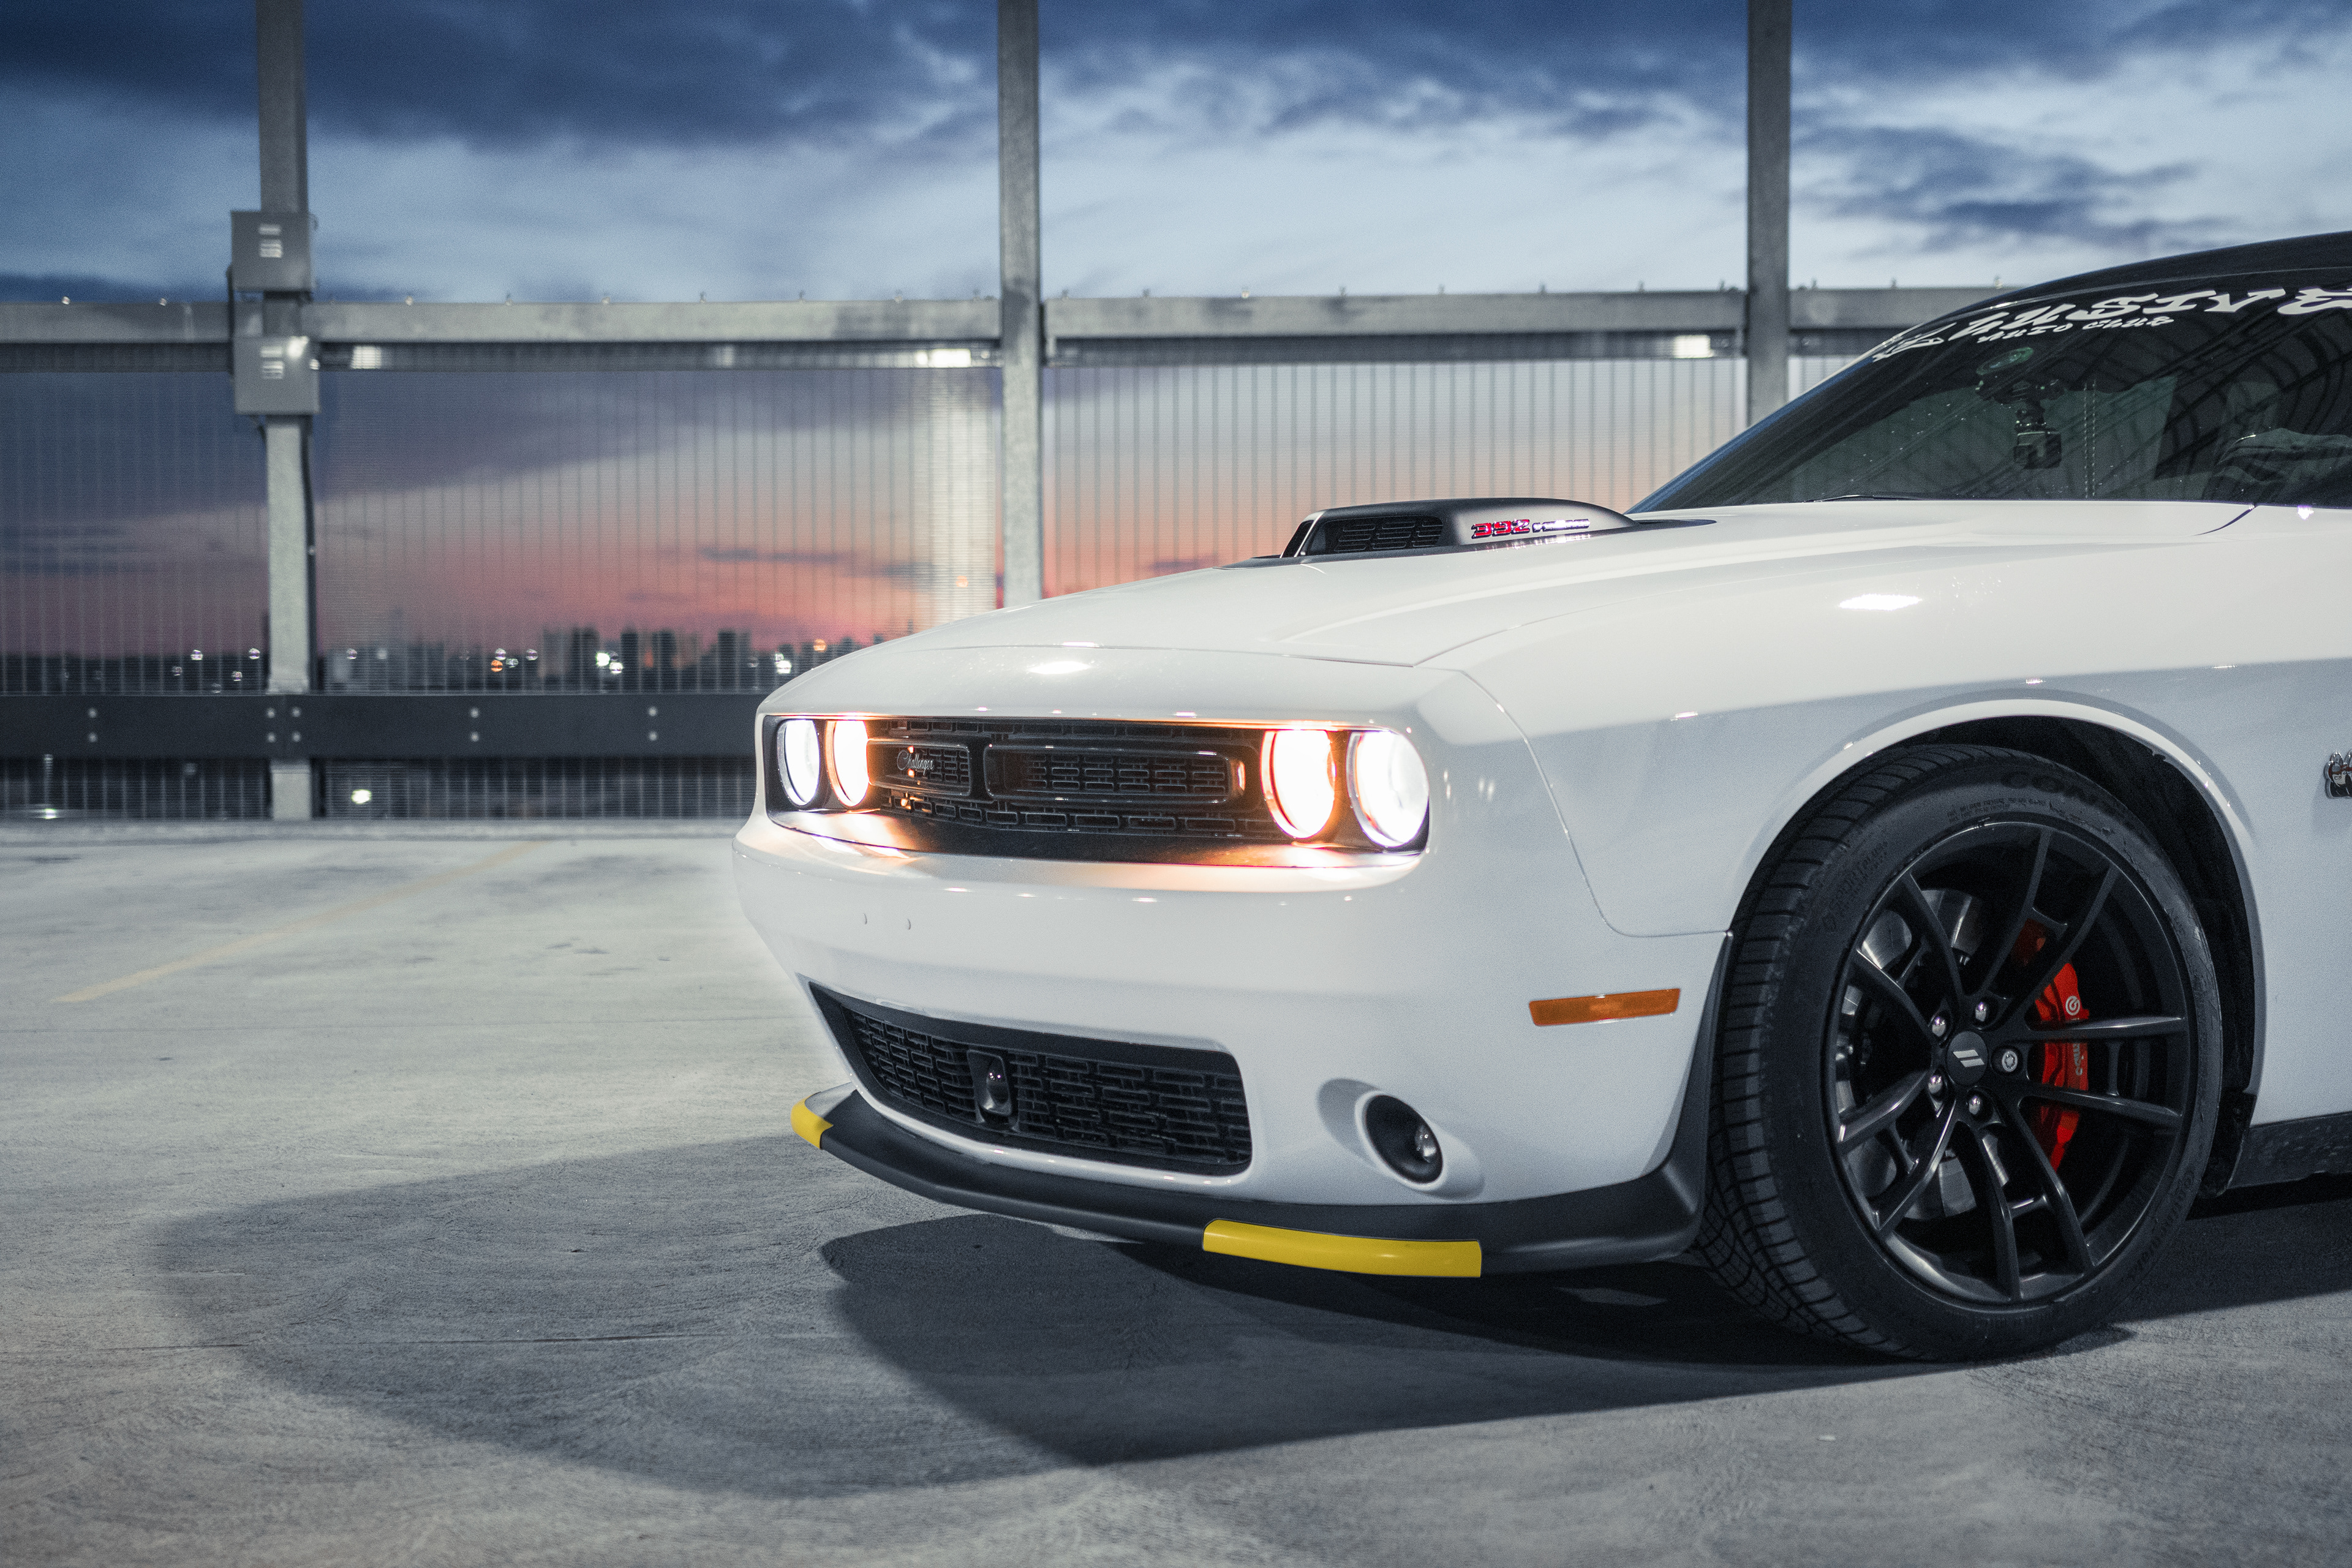
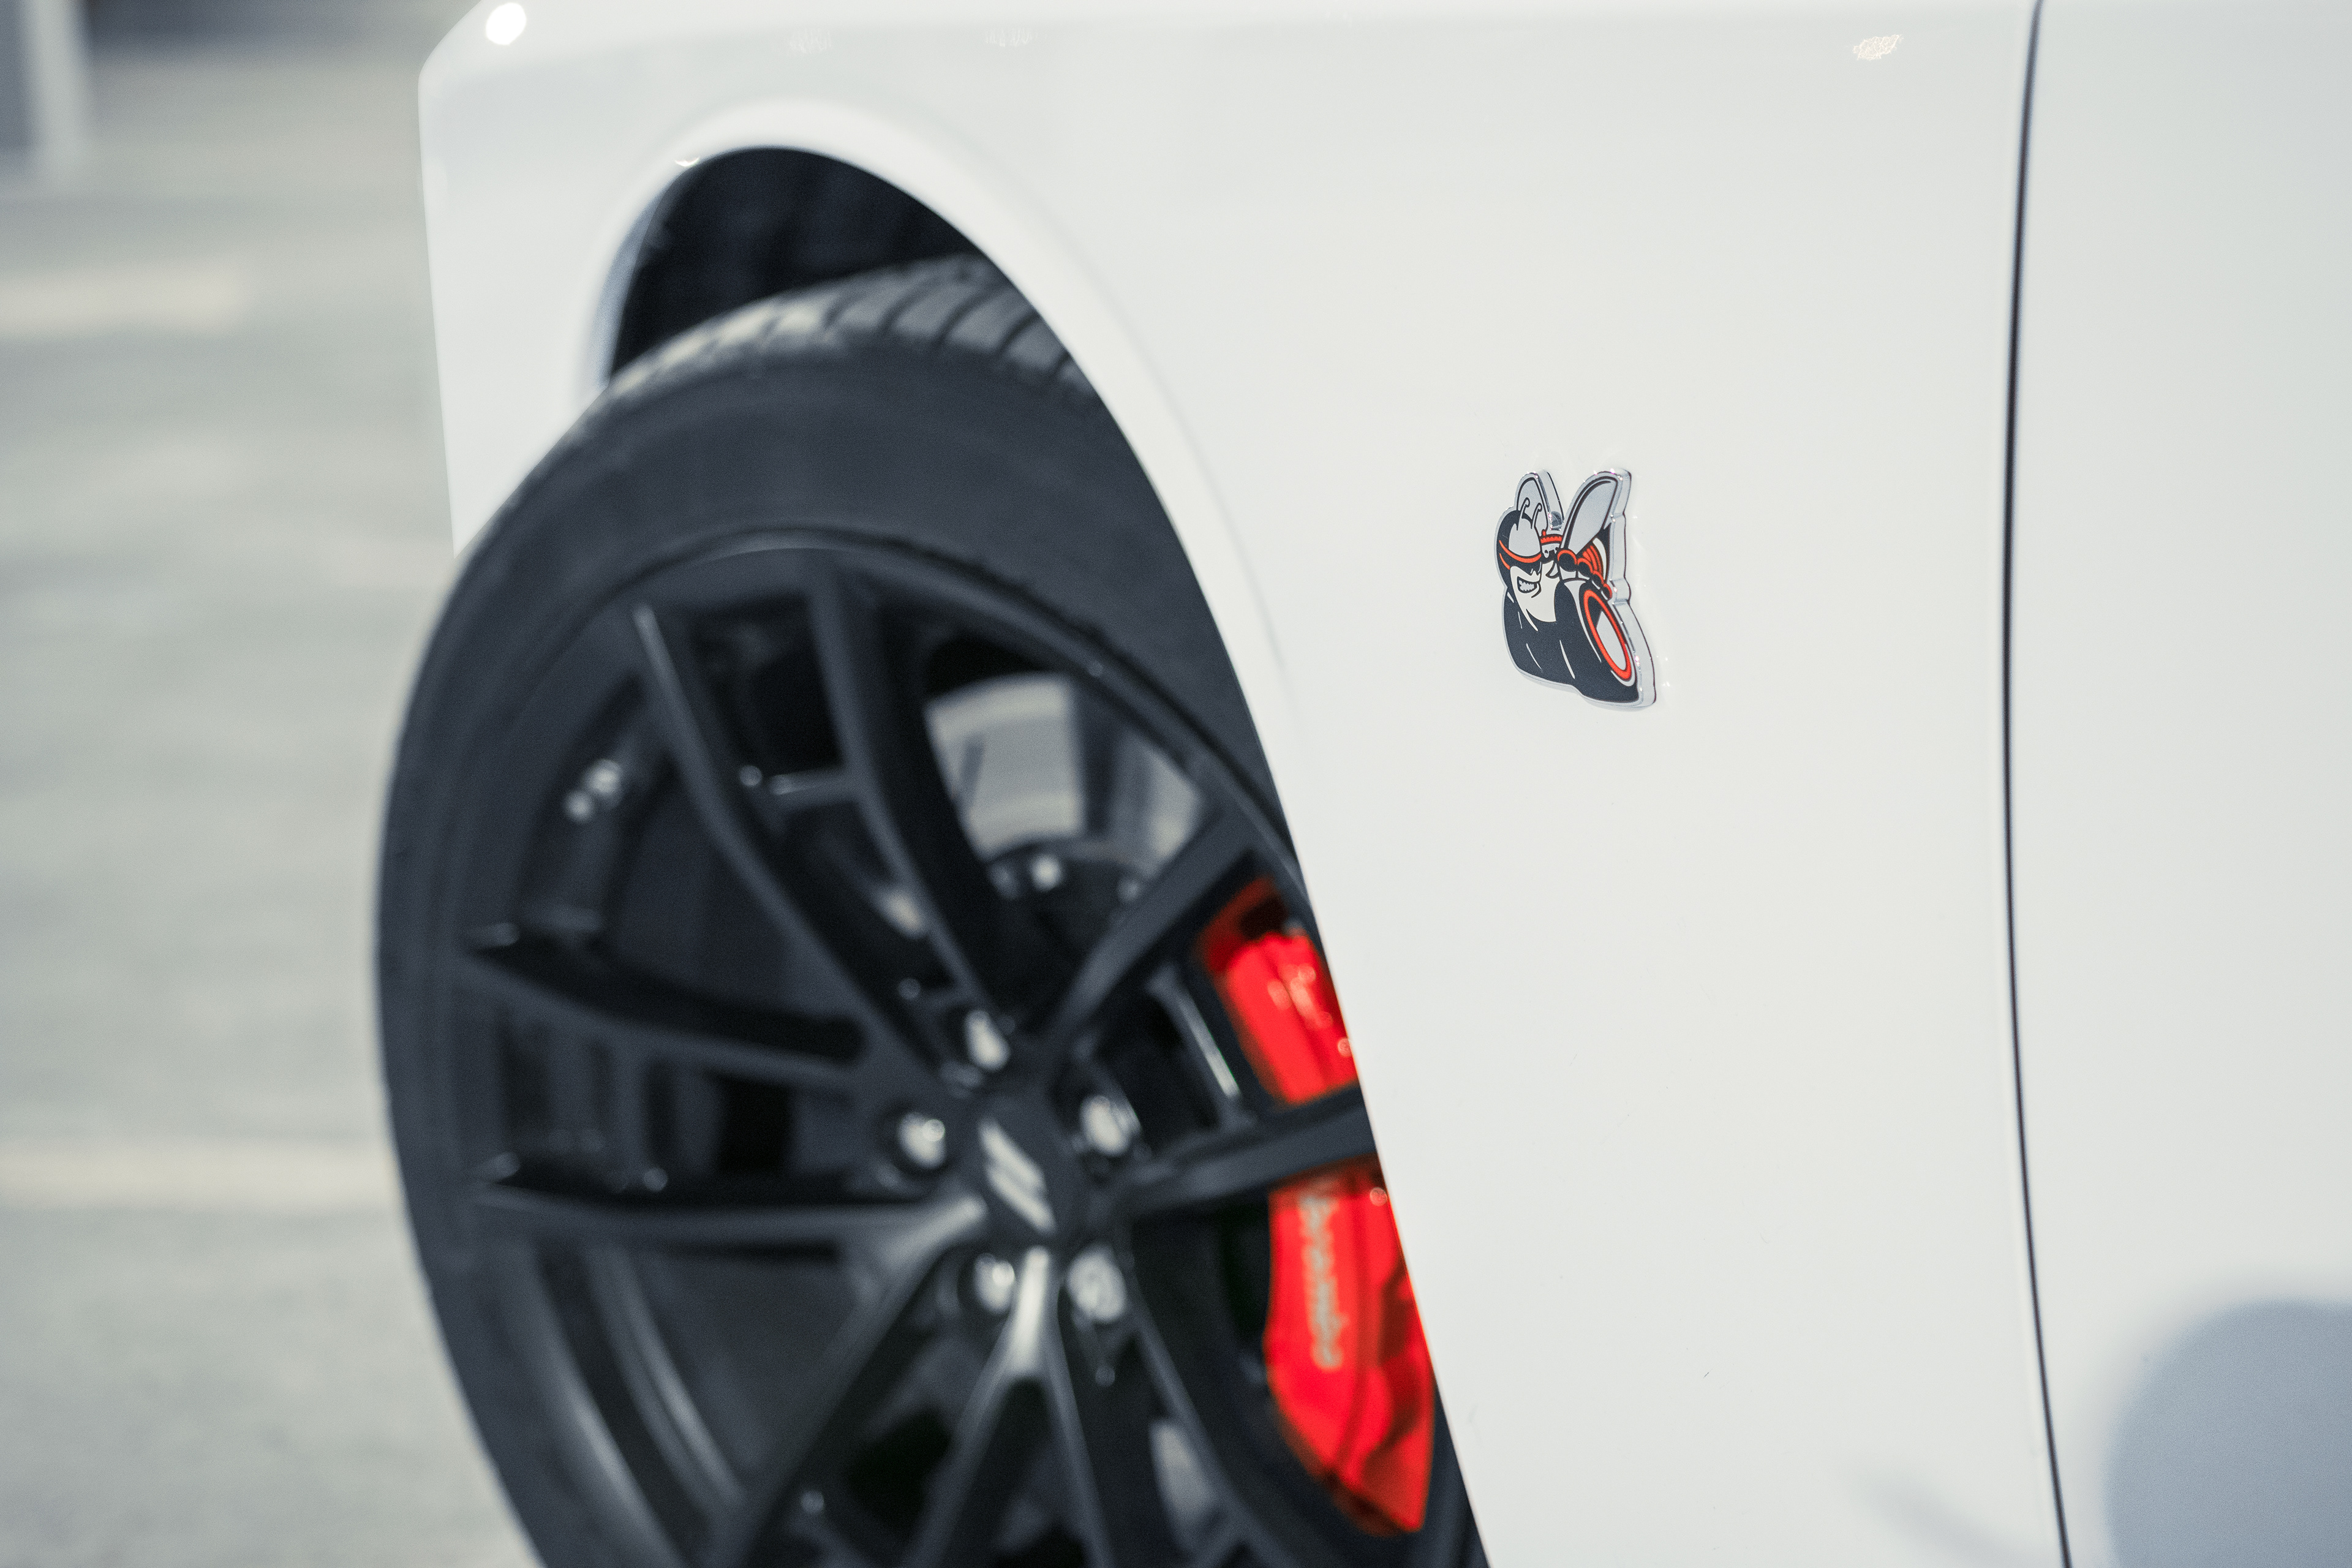
While Chris applied the banner to his Challenger, I stepped away to set up and figure how I was going to shoot his car. This was going to be the first time I would be using the Sigma 18-35mm f1.8 and I was really excited to see how the lens would handle the light in the garage, and how sharp it could dial in for some detail shots.

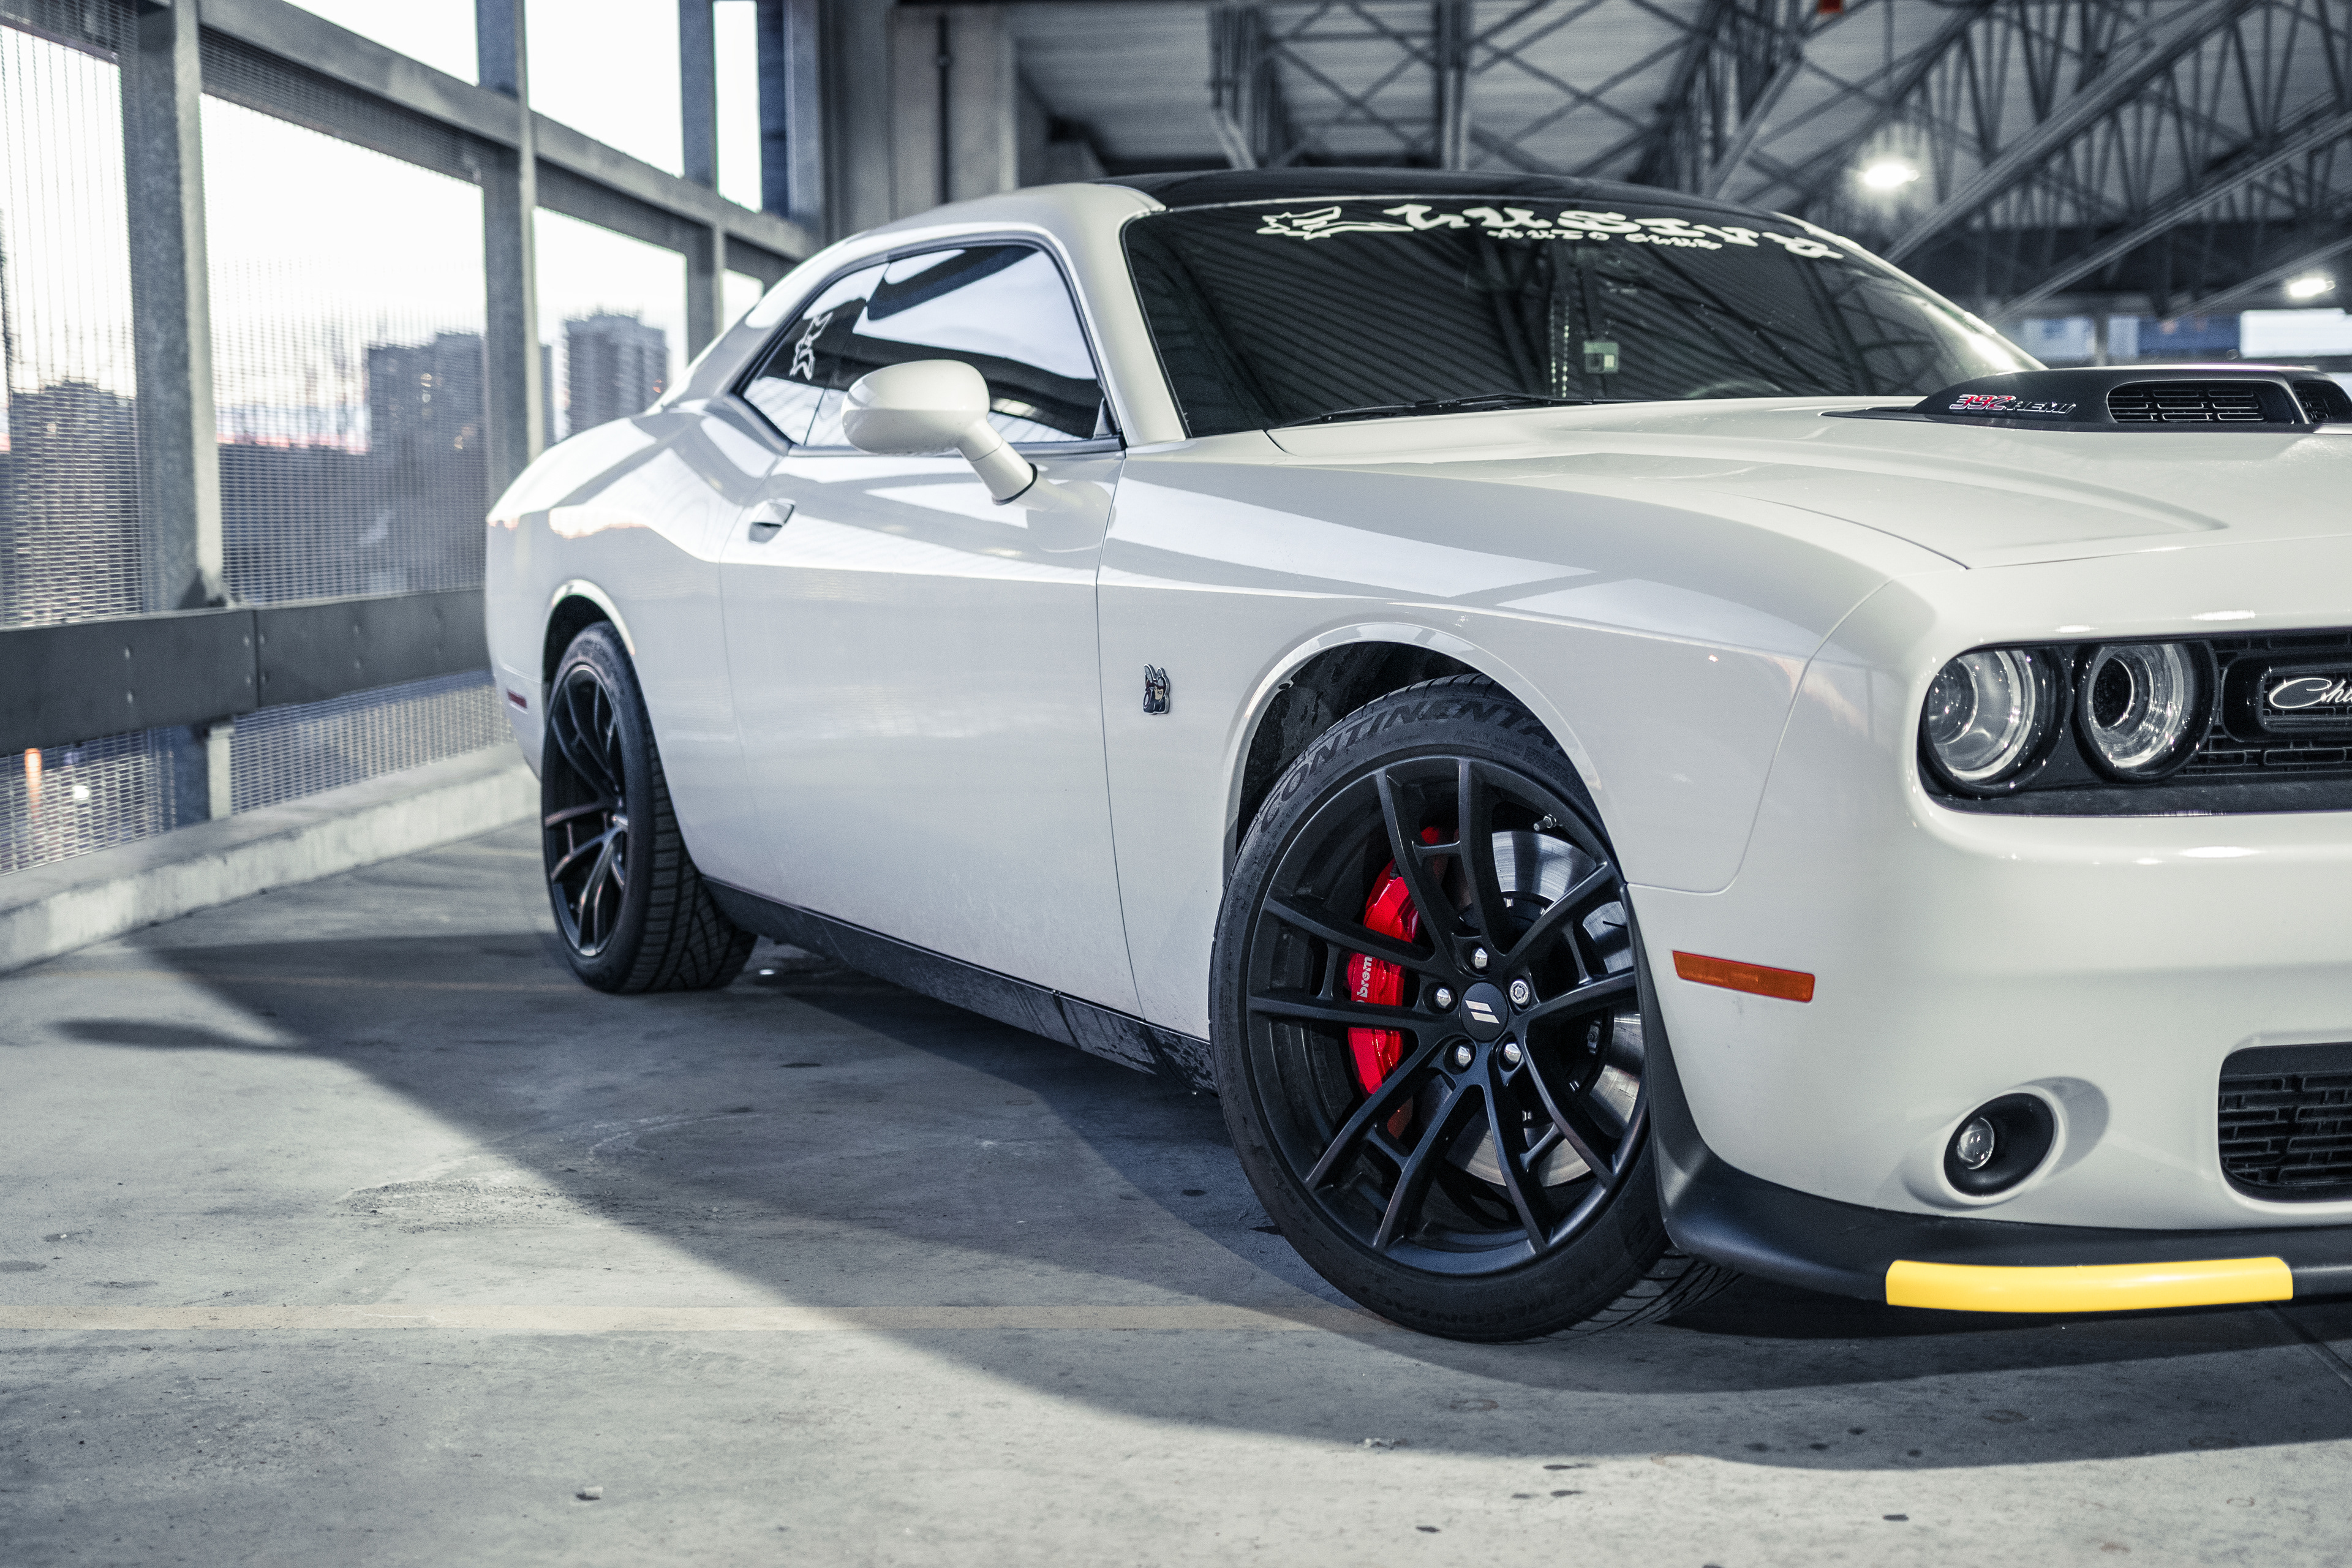
Needless to say, the lens was able to focus in quite well on various areas of the Challenger and I am very happy with the results. At 18mm I was able to get up really close to different sides of the vehicle and create some cool bokeh effects in the out of focus areas.
Something I came to appreciate was that Chris' Challenger was perfectly clean when we arrived at the garage. This is not as easy as it seems when you have wet weather over the past week leading up to the shoot. One large enough puddle on the highway (in your lane or someone else's) and there goes that $6, 20 minute car wash.
The Challenger's cleanliness made the photo editing process very easy and stress free, as one dirty area on the vehicle spread across 20 photos can consume a lot of time trying to clean it up.
Tip for myself or anyone reading this and looking to do a photoshoot: Bring tools to remove license plates.
Unless the client has a custom license plate, it's probably a cleaner look to just have these areas bare.
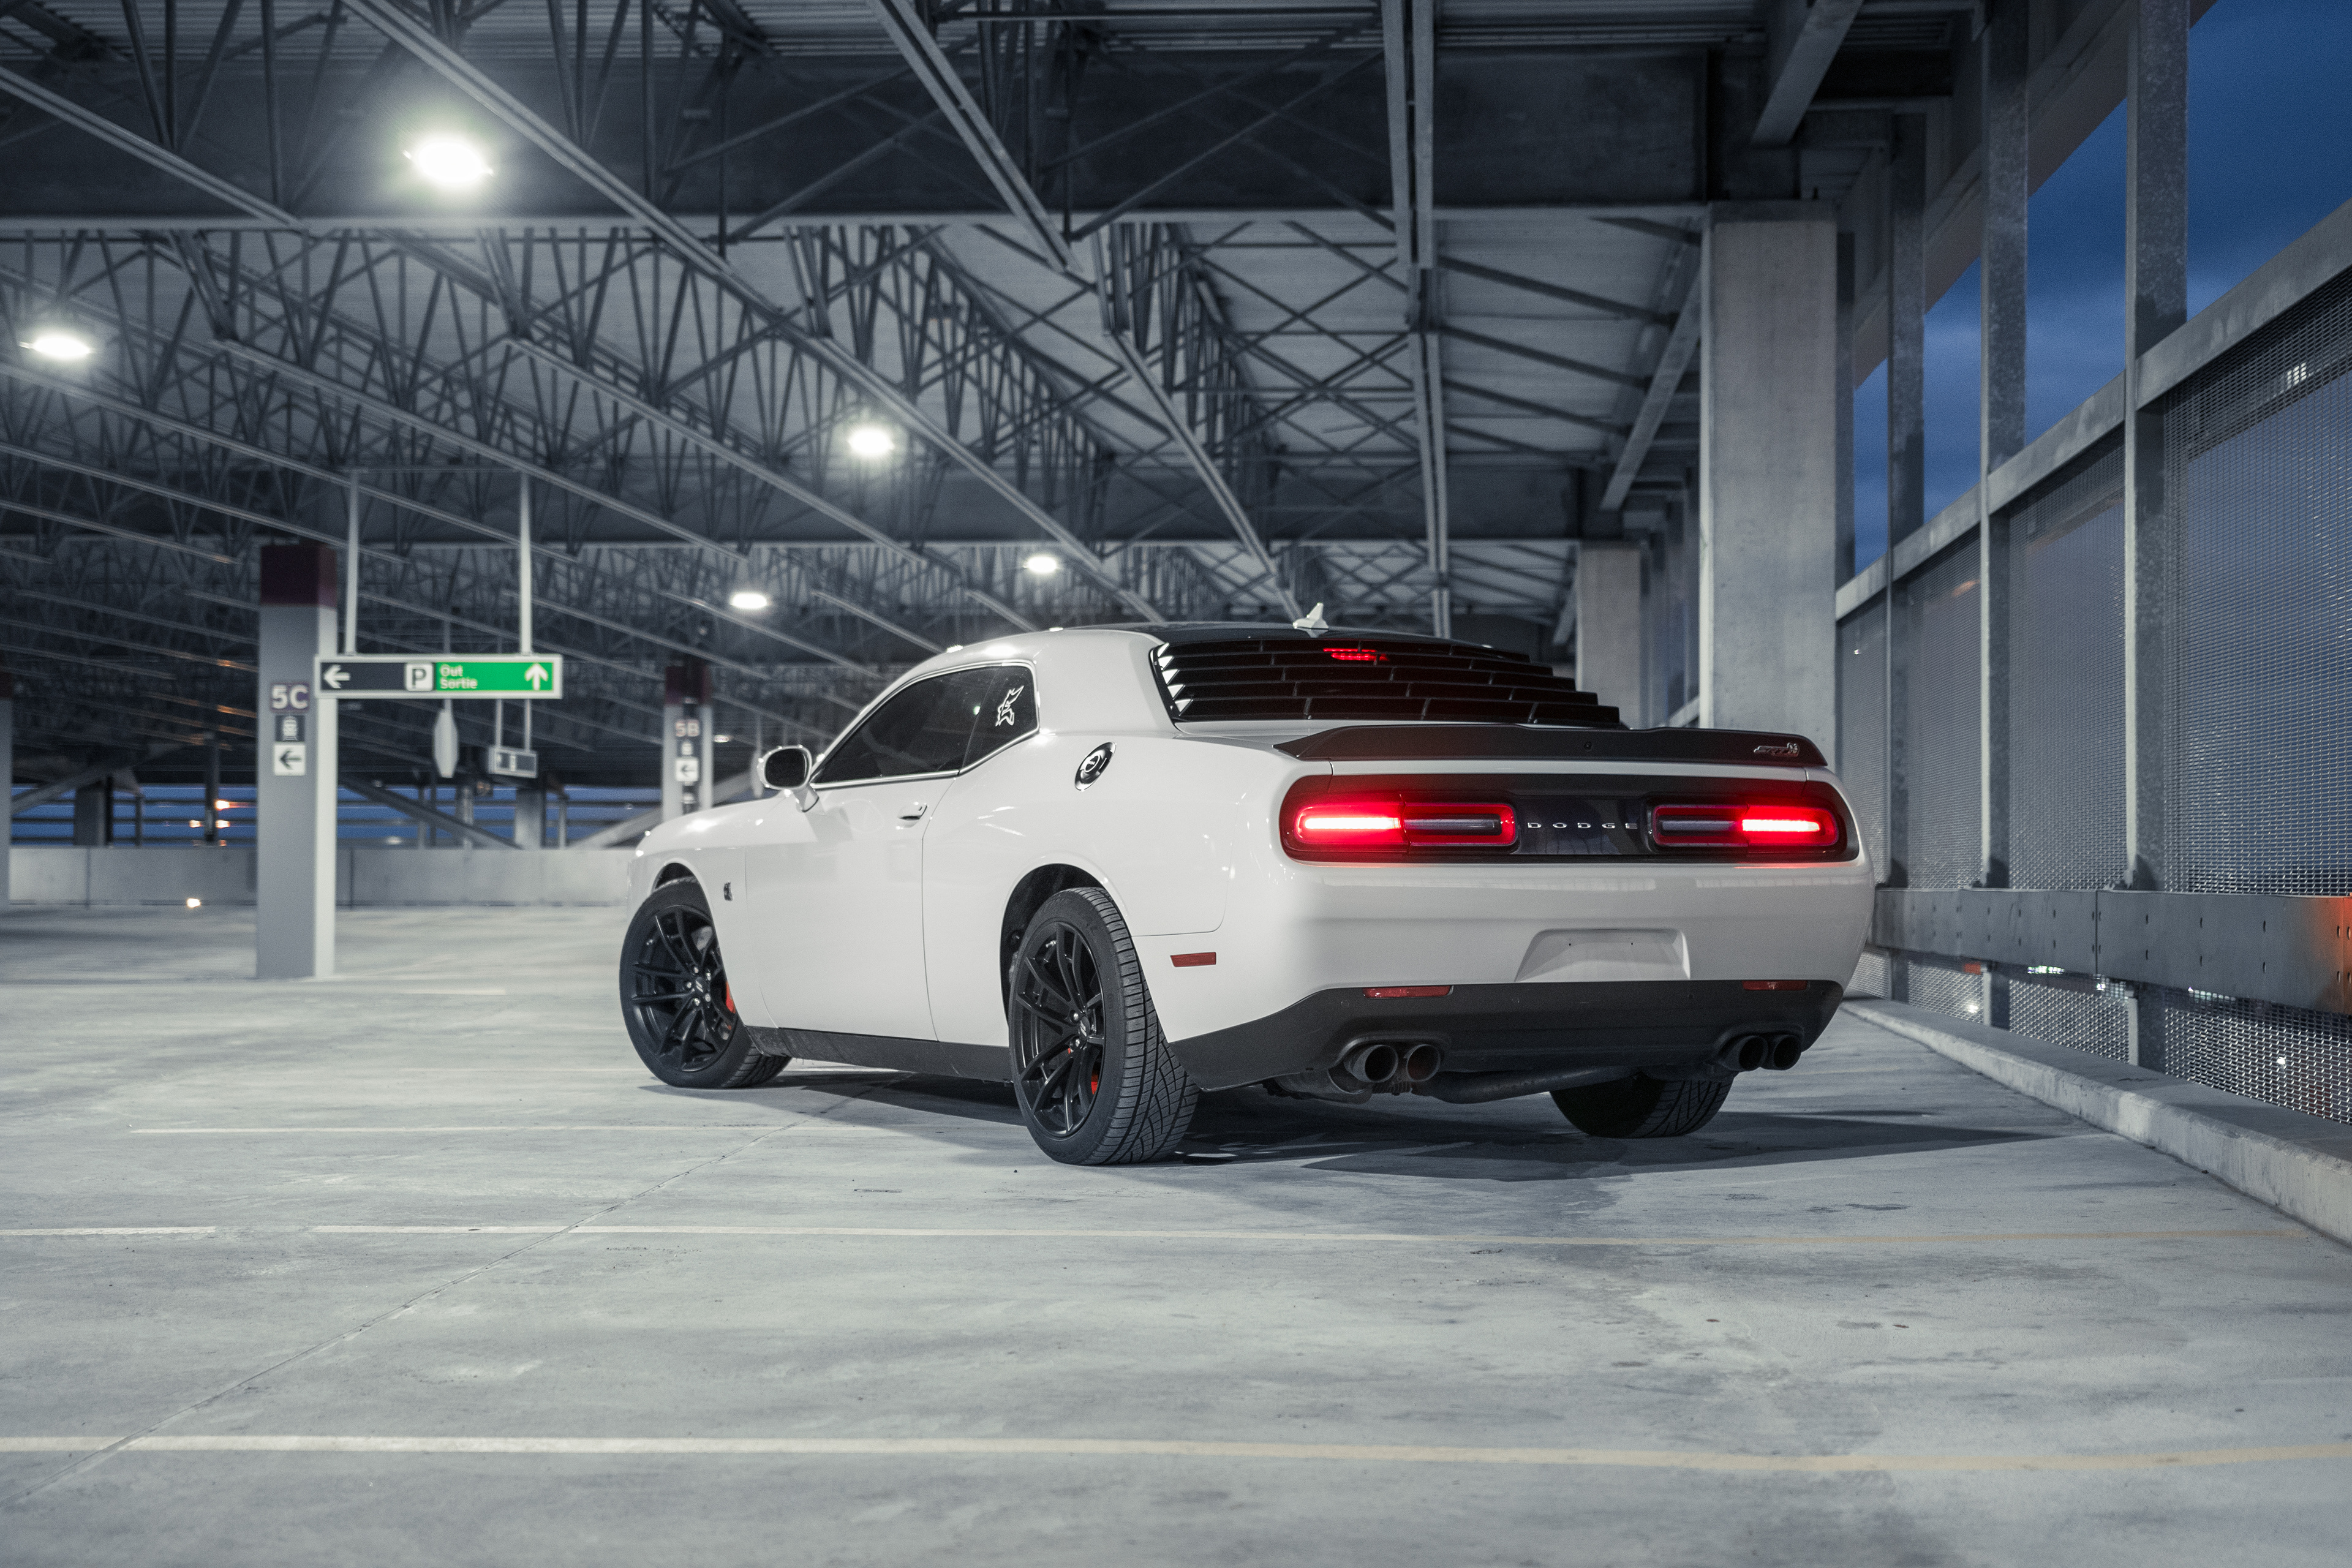
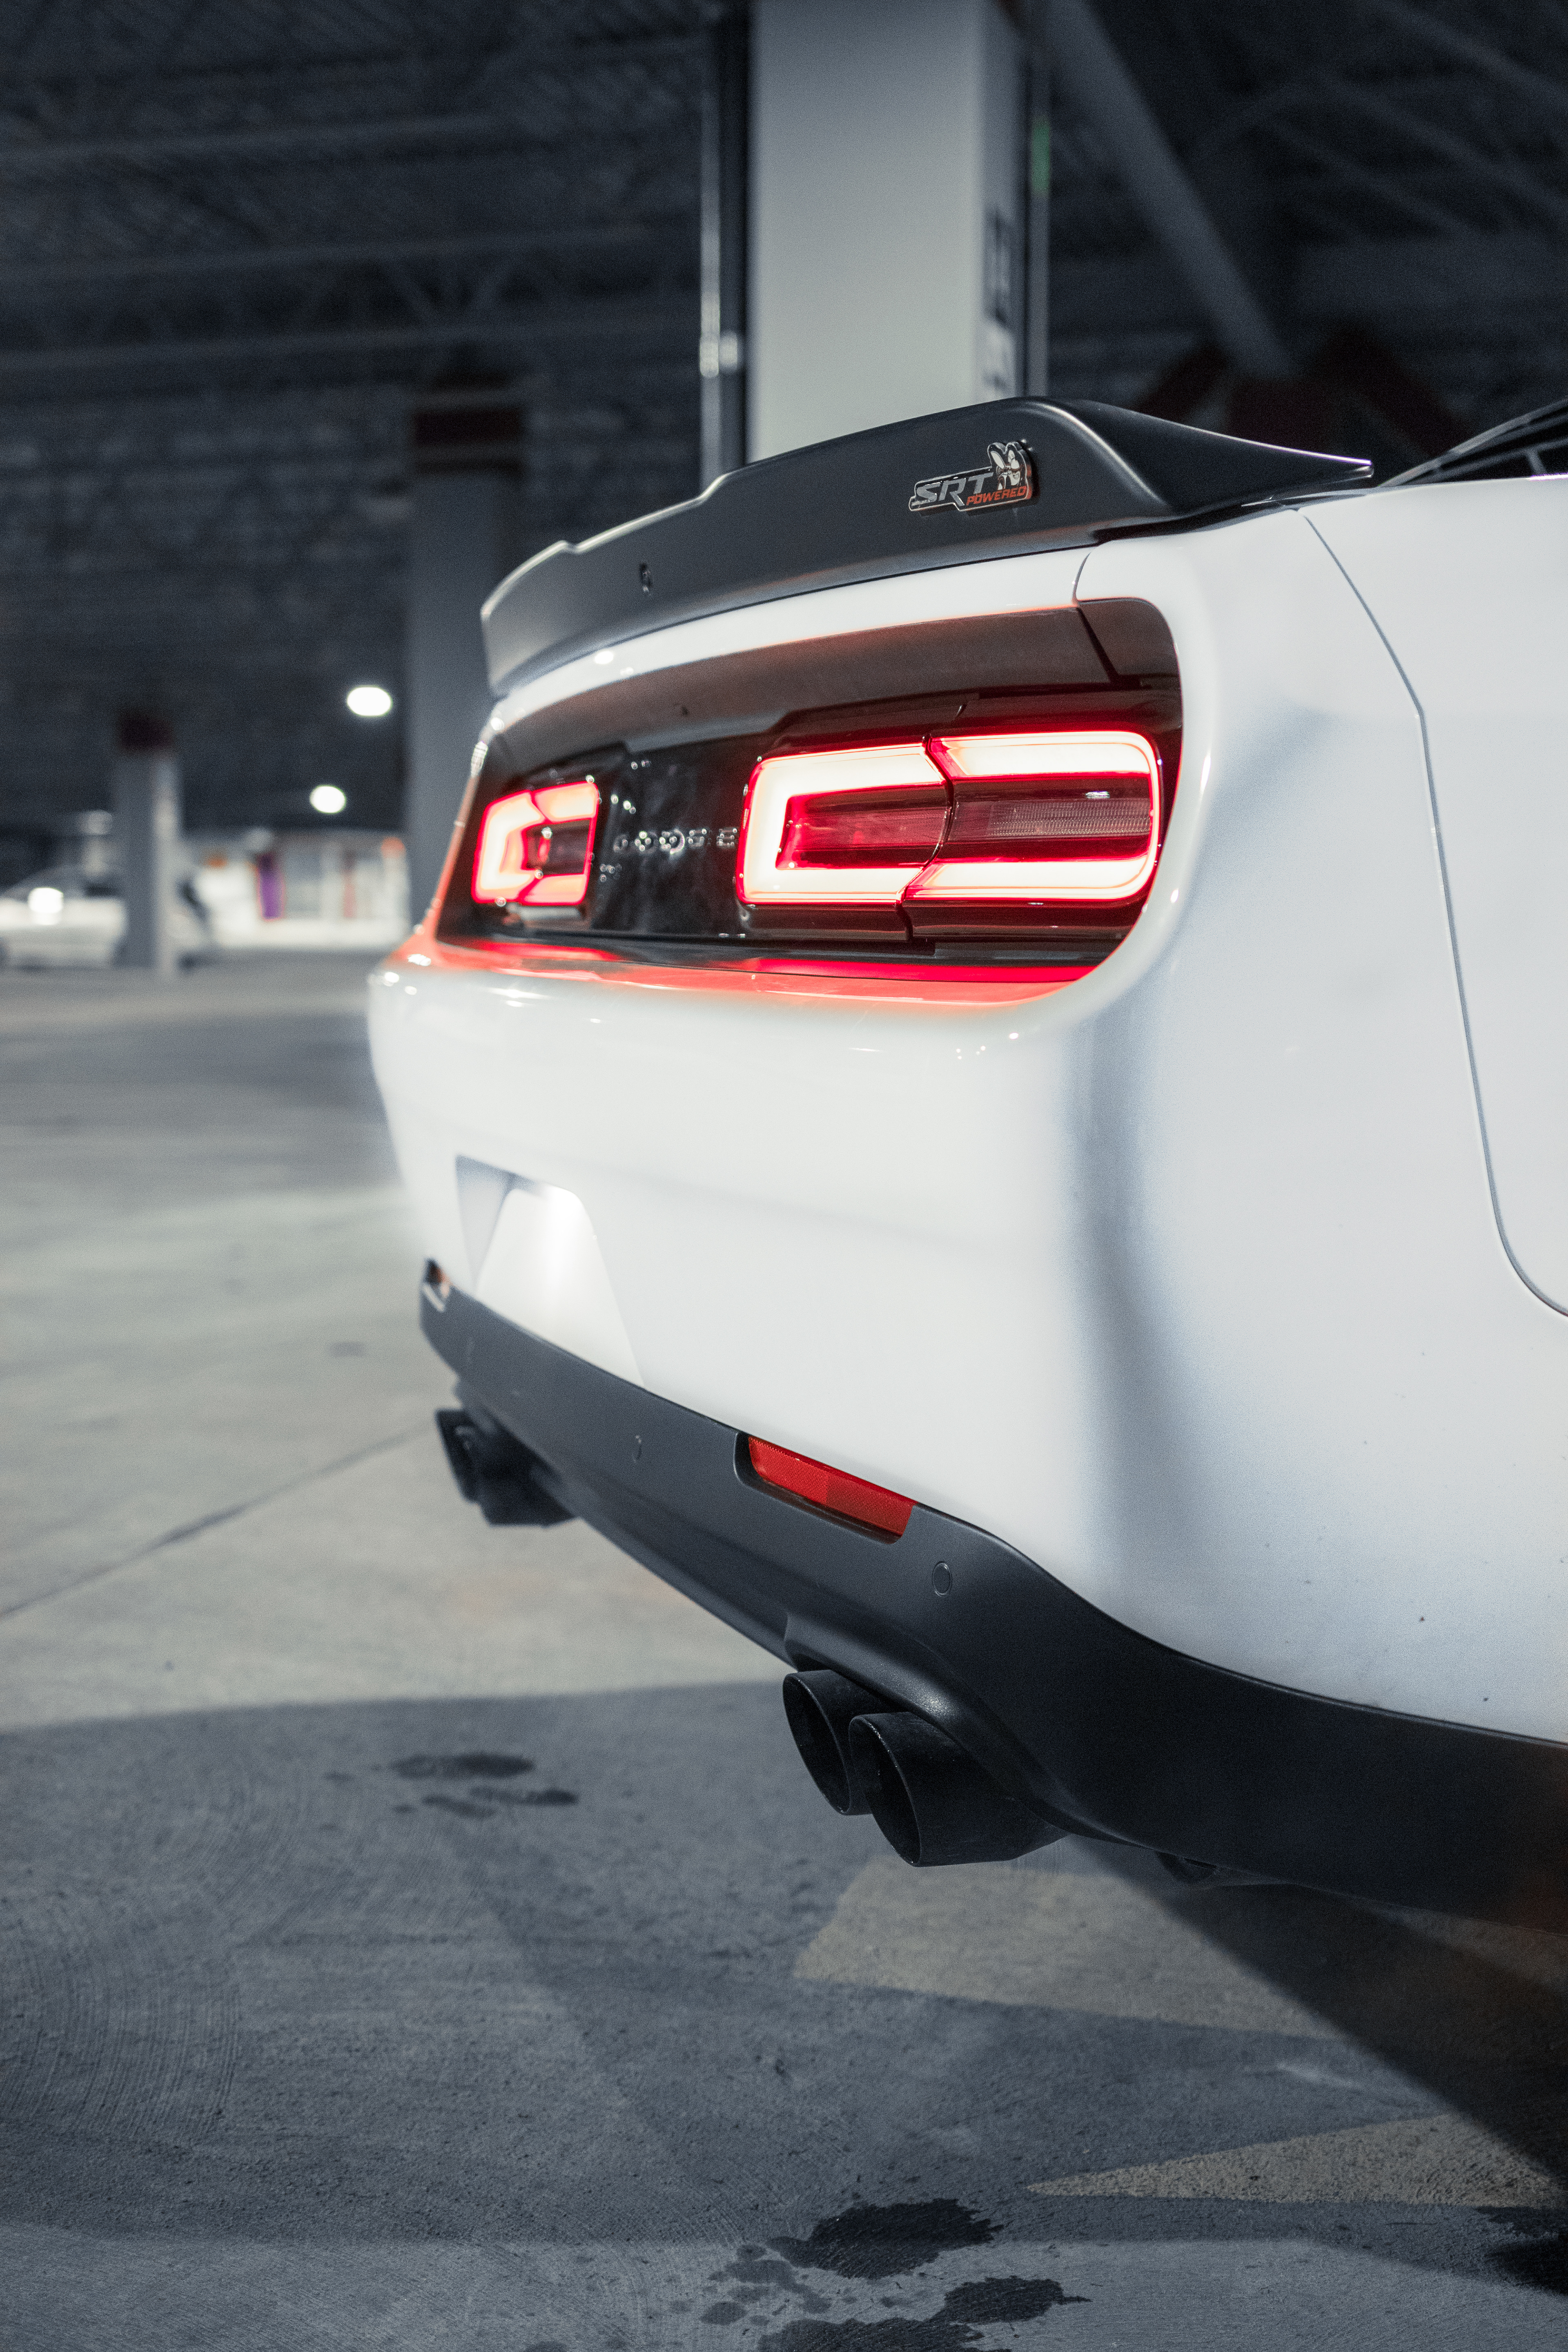
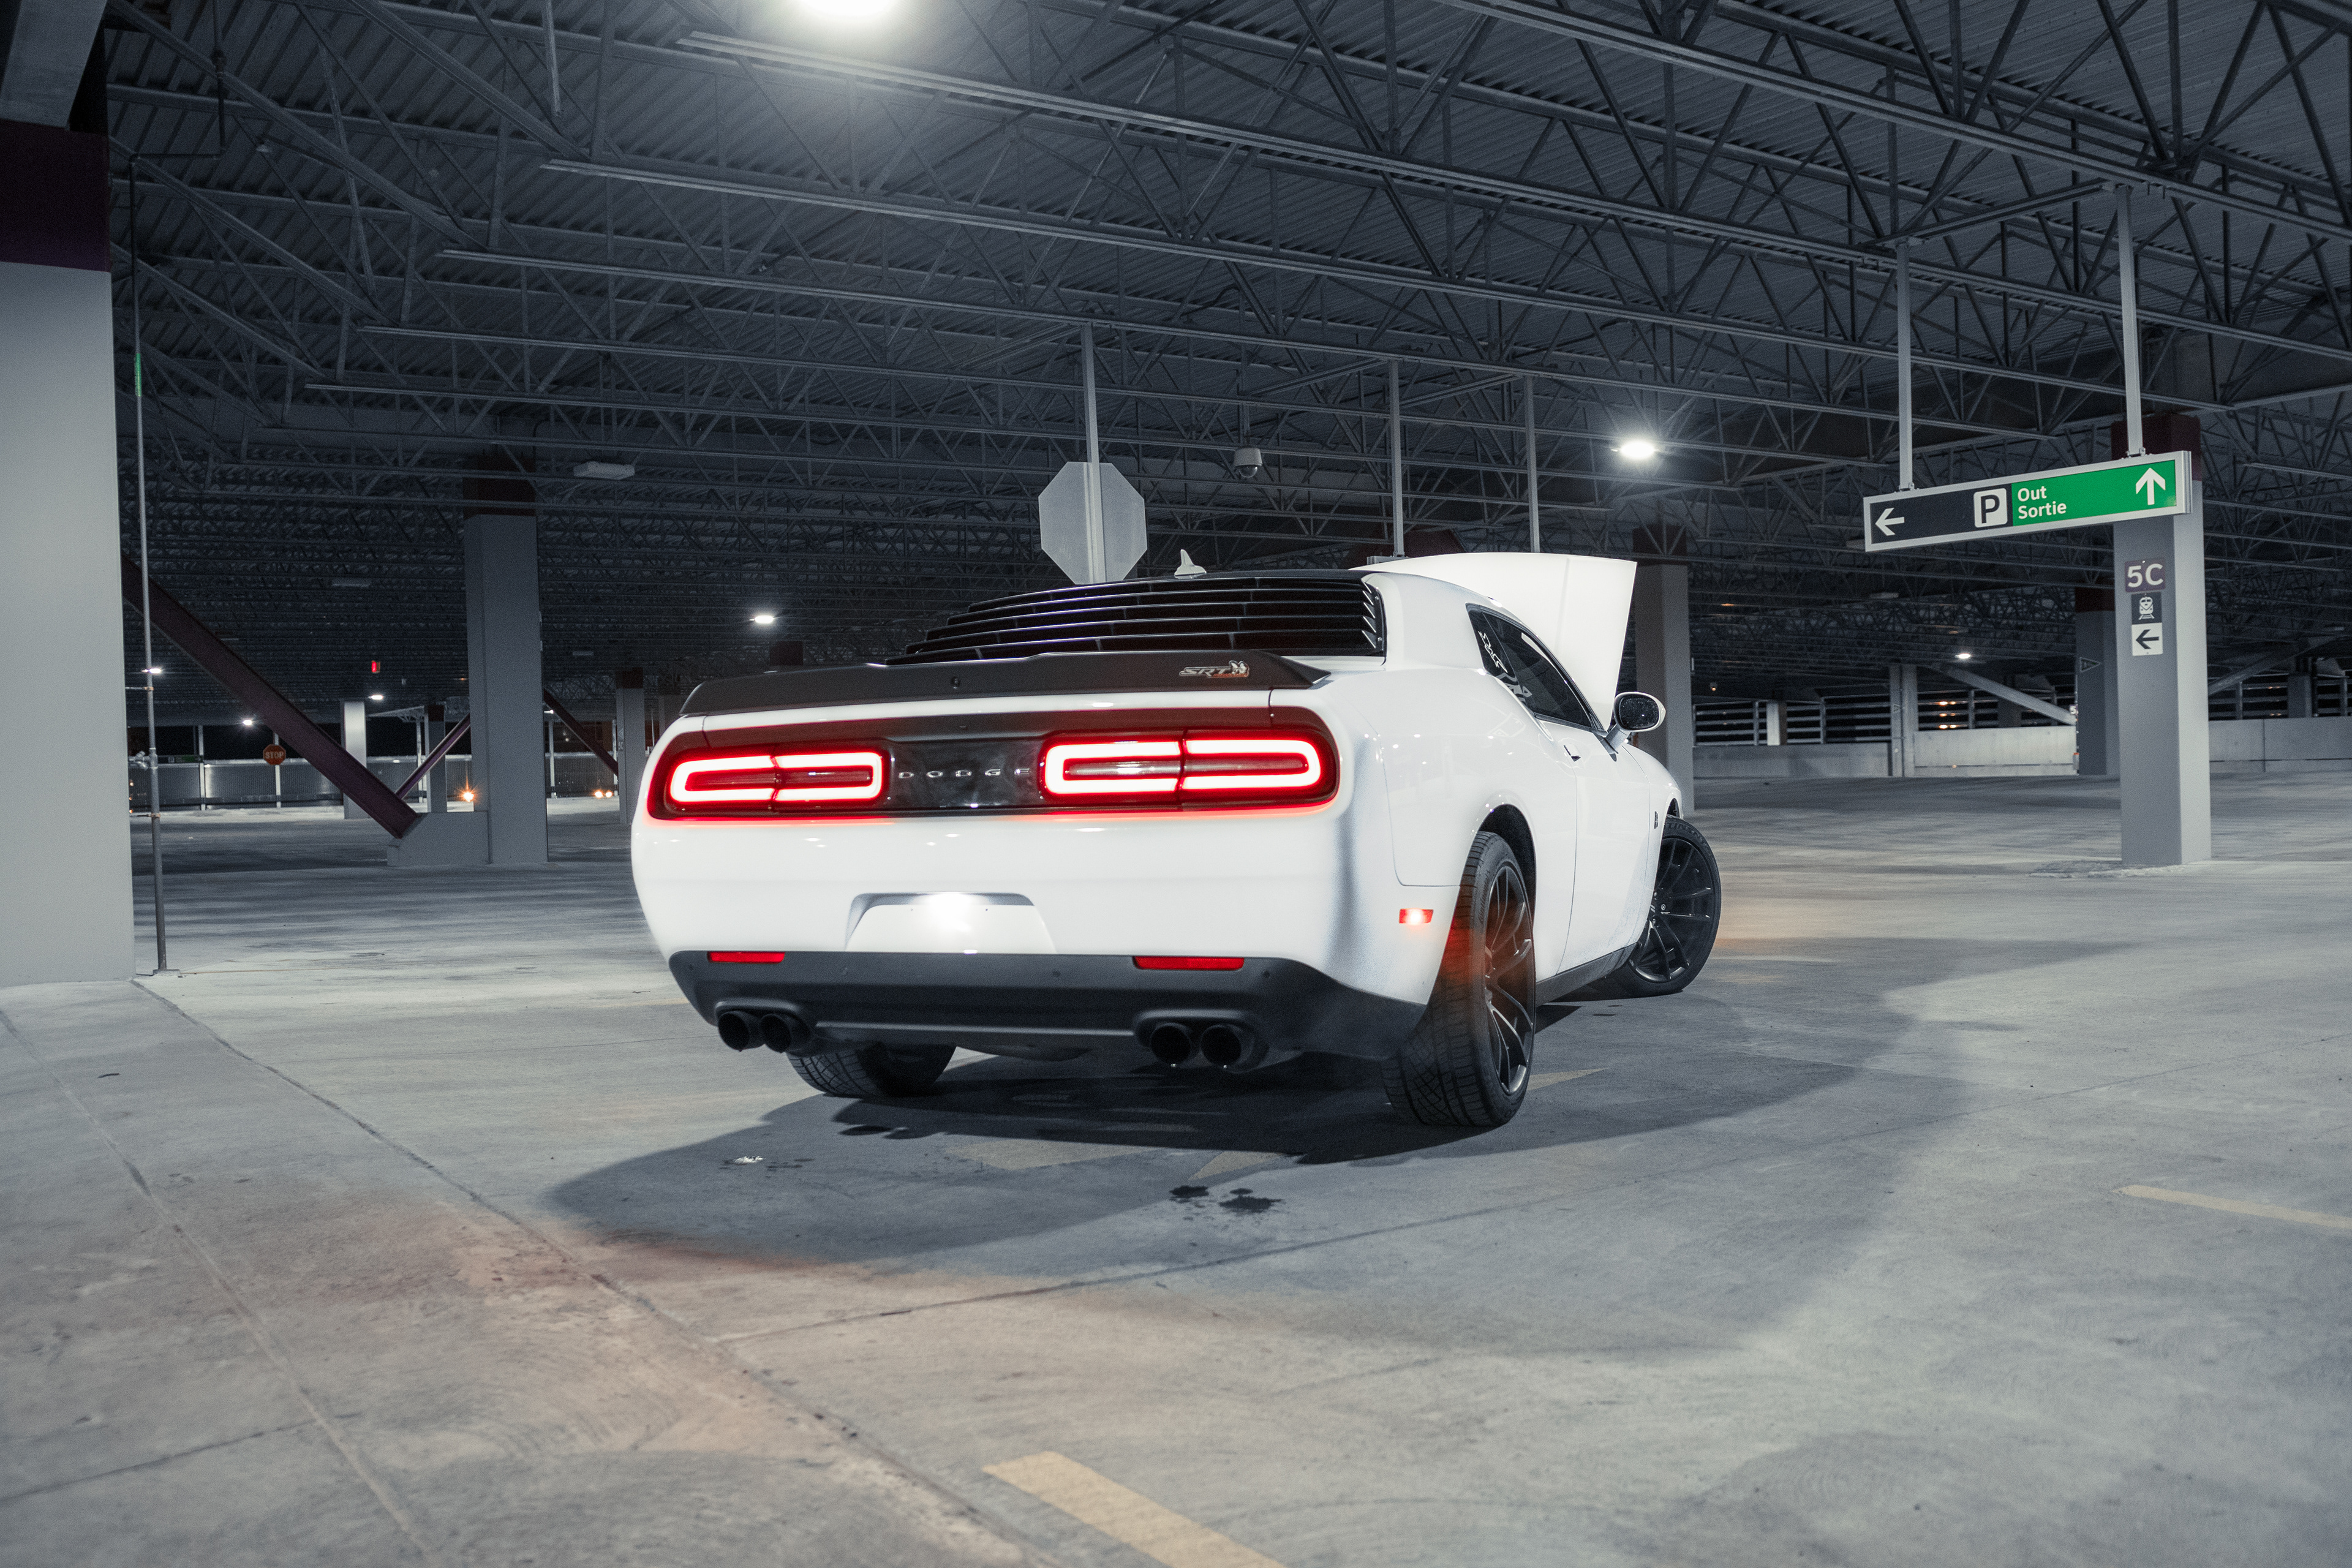
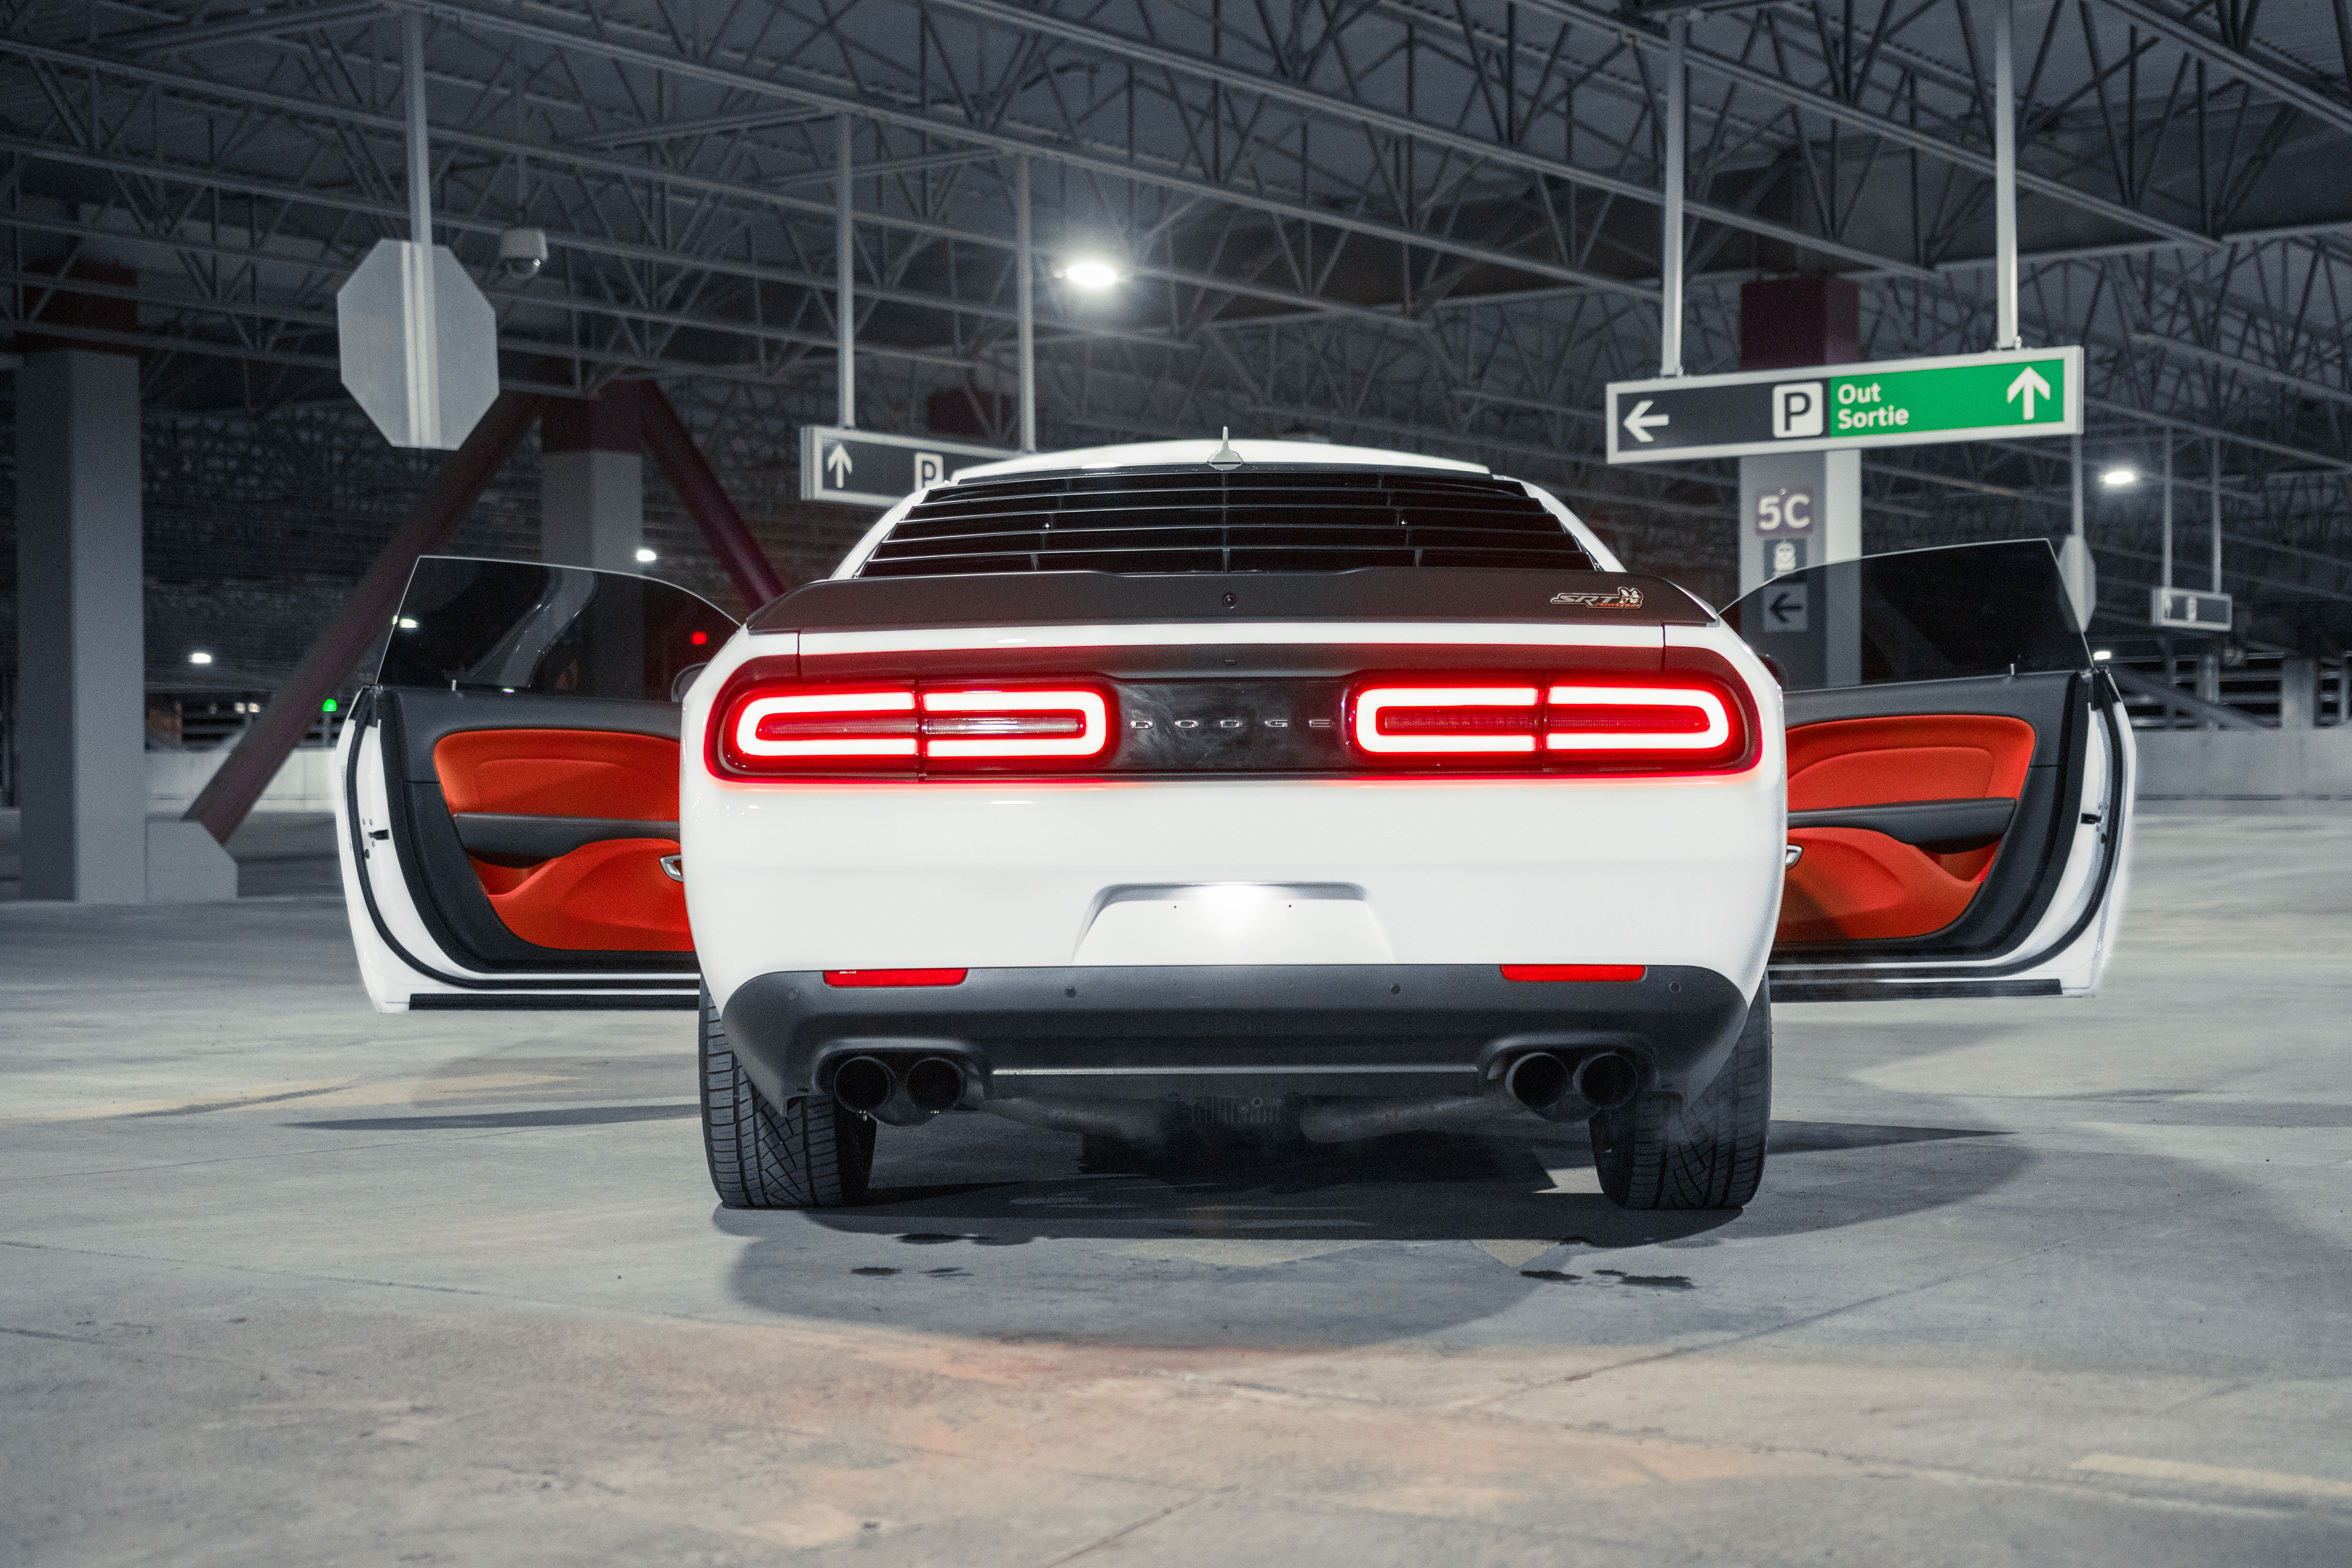
Something I loved about shooting a white car in this environment is that it seemed to suit it very well. The deep red details in the taillights and brakes also helped create a bit of 'pop' for each photo I took.
If there were more time to shoot the Challenger (hopefully another time soon), I would definitely have gotten some interior shots. While the exterior delivers an tough, aggressive look, the interior has just as many strong details to capture.

If you've made it to here, and are still reading, I wanted to reward you with something that I learned from this photo-shoot, and that can probably help you with yours - the editing process.
After importing all of the images into LightRoom, I assigned a 5 star rating to the shots I thought would be the best out of the entire collection. For each angle I took about 3-4 shots, and selected the best one. I then took a quick scroll through the other presets I've created in the past to see if any would work, but also to give me some creative inspiration on how I would colour grade the photos. They key is to have consistency throughout the photos, so creating custom presets for each shoot is a good idea.
After about 2-3 attempts at properly colour grading a single photo, I finally created a colour palette that I was happy with. My focus was to change the background from 2700k (soft orange) to 5000k (cool white) and have the other colours present in the photo to stand out by increasing their saturation and playing with the luminance (red, green, and blue). This combination turned out well in my opinion and I was able to apply it very easily to many other shots from this collection.
I hope you enjoyed this photo-shoot blog as much as I did shooting and editing it!
See below for the rest of the collection.